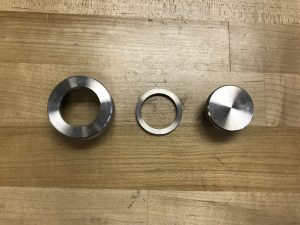


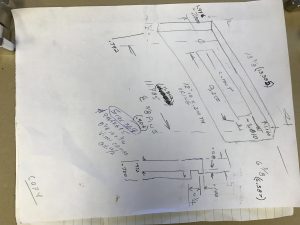
Quick connect fitting block off made by the extremely talented J.D Guerard machining.
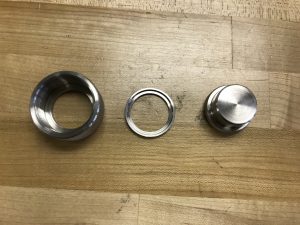
Quick connect fitting block off made by the extremely talented J.D Guerard machining.


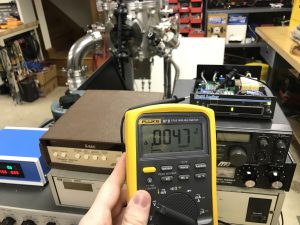
Pressure value is from a Baratron MKS Pressure Transducer. 1 millivolt is 0.1 millitorr. Initial 13v signal represents off-scale pressure (>1torr)
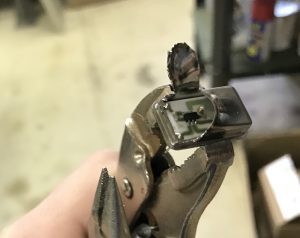
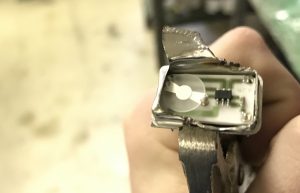
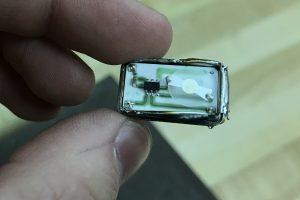
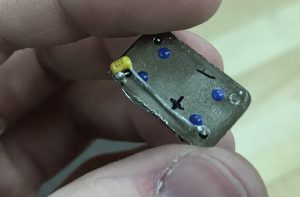
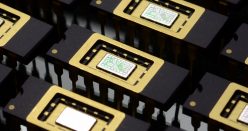
A 6mhz oscillator can was cut up with pliers and the top was removed to expose the quartz crystal. The output is AC coupled (high pass filtered) to the positive (+5v) rail so that a single coax cable can be used to connect this to the thickness monitor as the power is basically just a DC offset on the signal. If you buy a pack of crystals from somewhere like Lesker they will (depending on your thickness monitor) most likely require the usage of an external oscillator. Such a circuit can be made by a complimentary pair or NPN and PNP transistors and couple passive components. Thanks to Ben from Applied Science for the idea.
Abstract: The quartz microbalance is a quick way of monitoring thin film thicknesses in real time, a bare quartz crystal which oscillates at a known frequency is placed in the chamber near the substrate involved in deposition. As the film accumulates on the crystal, it gains mass and the resonant frequency is lowered. The cumulative frequency change is analyzed and interpreted as the rate of accumulation the rate is integrated into a total thickness. Note that accumulation rate is the proper term for deposition rate, as in many cases (sputtering) the actual deposition rate is higher but some atoms are resputtered off the substrate due to high energy molecules in the chamber, substrate temperature, etc. and the total film thickness can momentarily decrease. The net result of the deposition and resputtering is known as accumulation
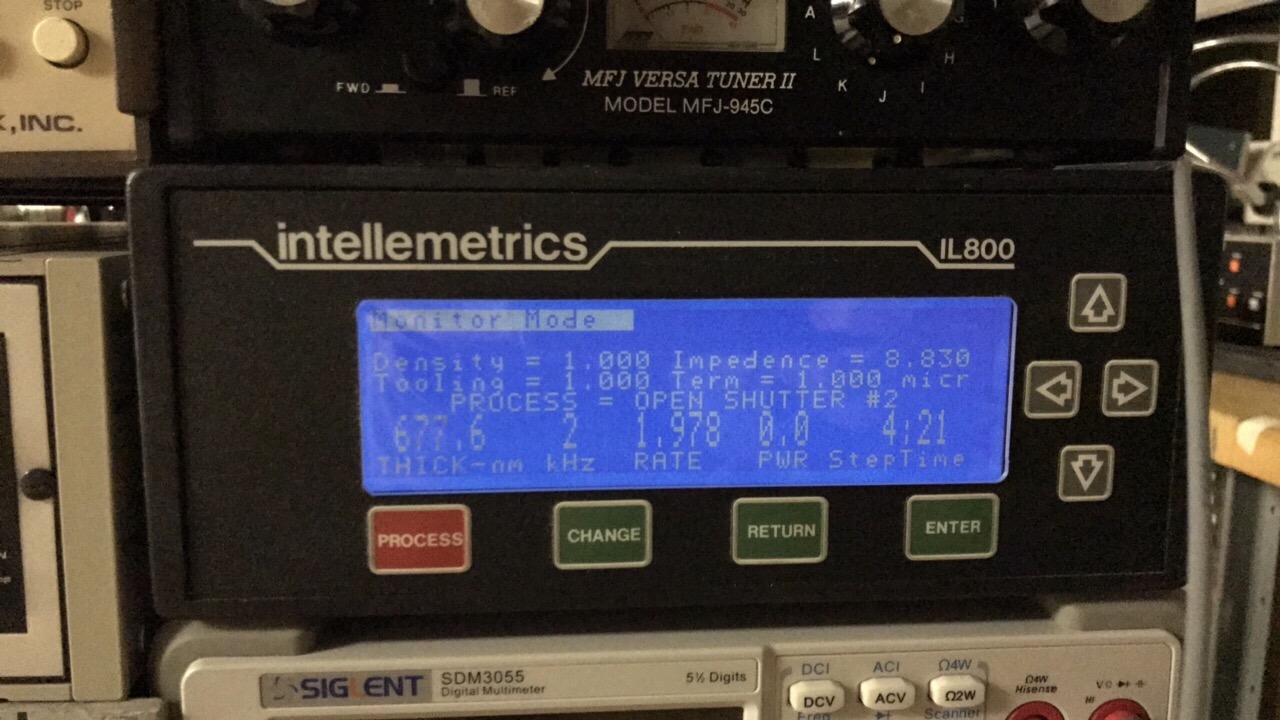
+/- 0.1nm resolution!
Ion gauges (hot cathode ionization gauges) are very sensitive high-ultra high vacuum gauges. I got a second gauge because I was getting weird values from my first gauge which I suspected was from a degrading filament.
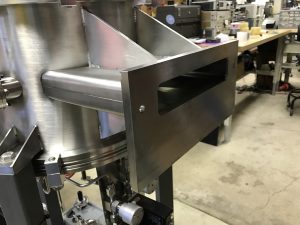
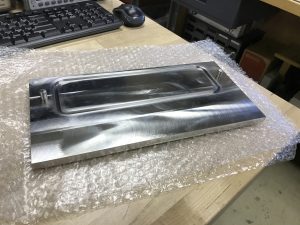
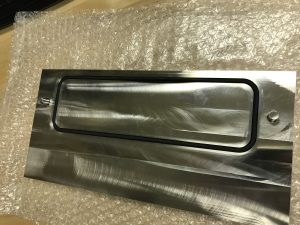
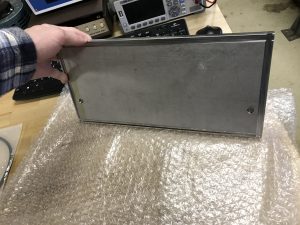
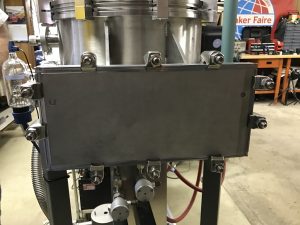
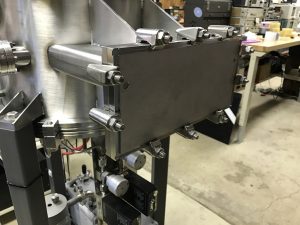
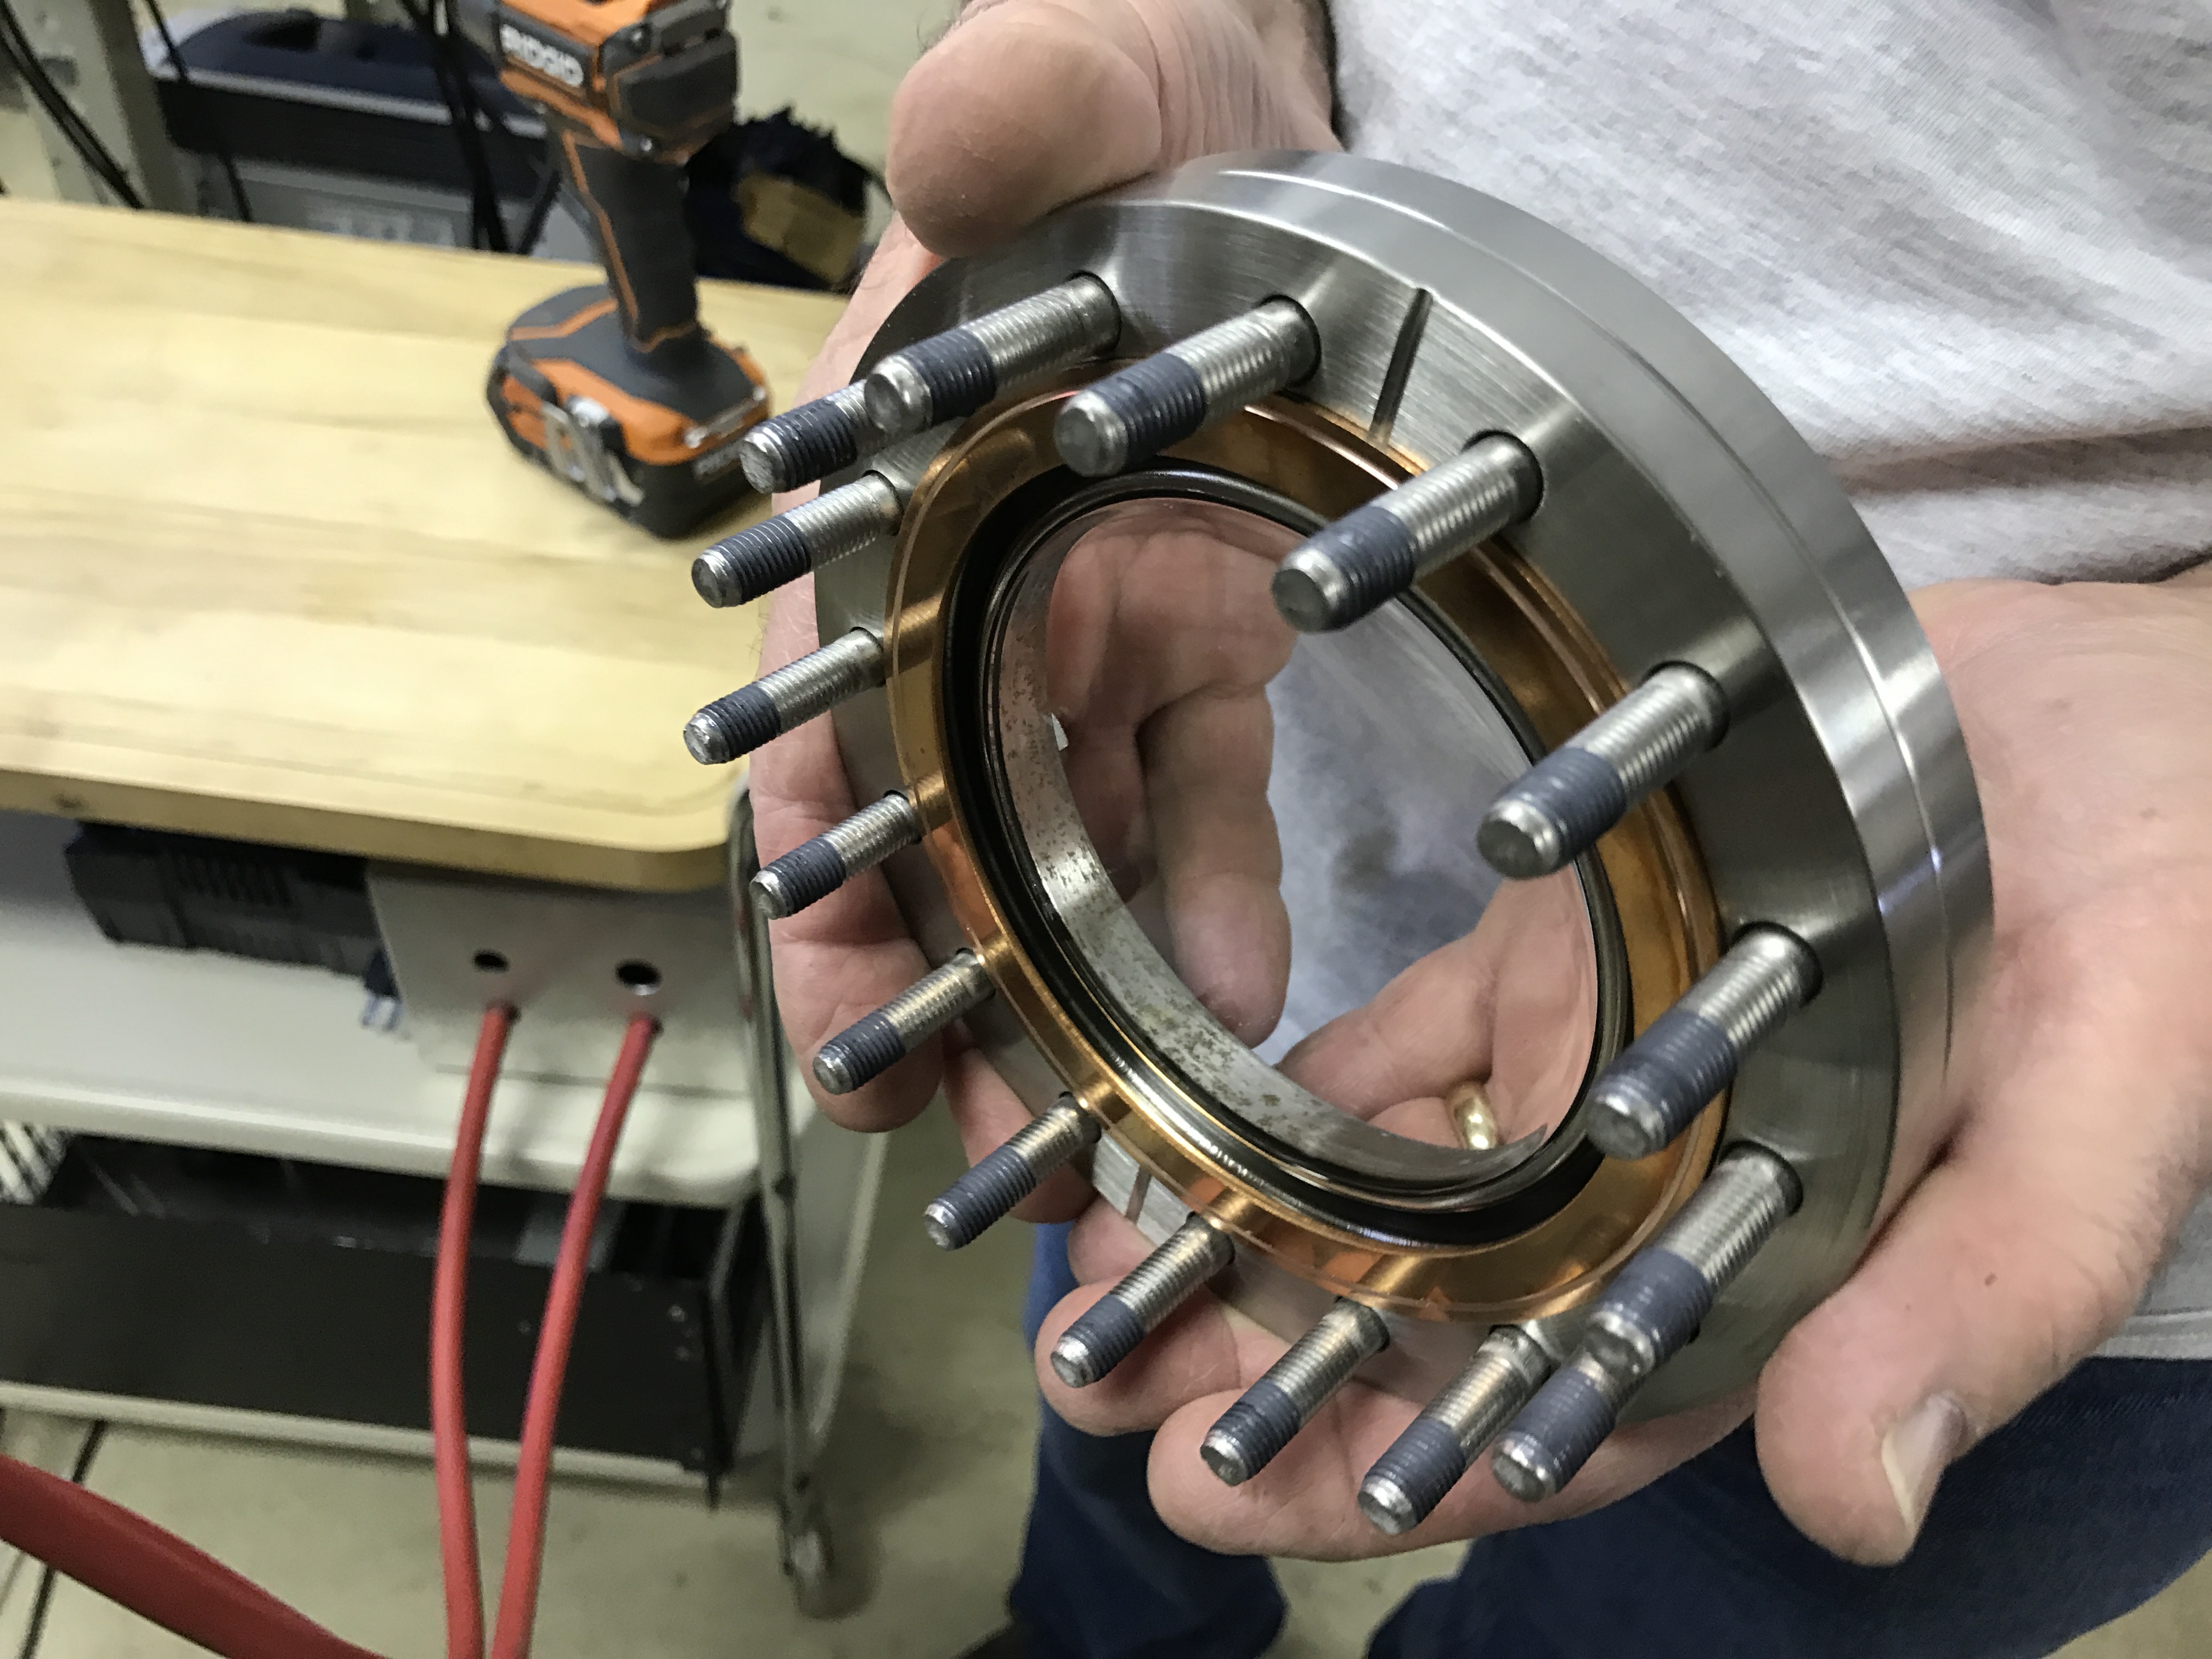
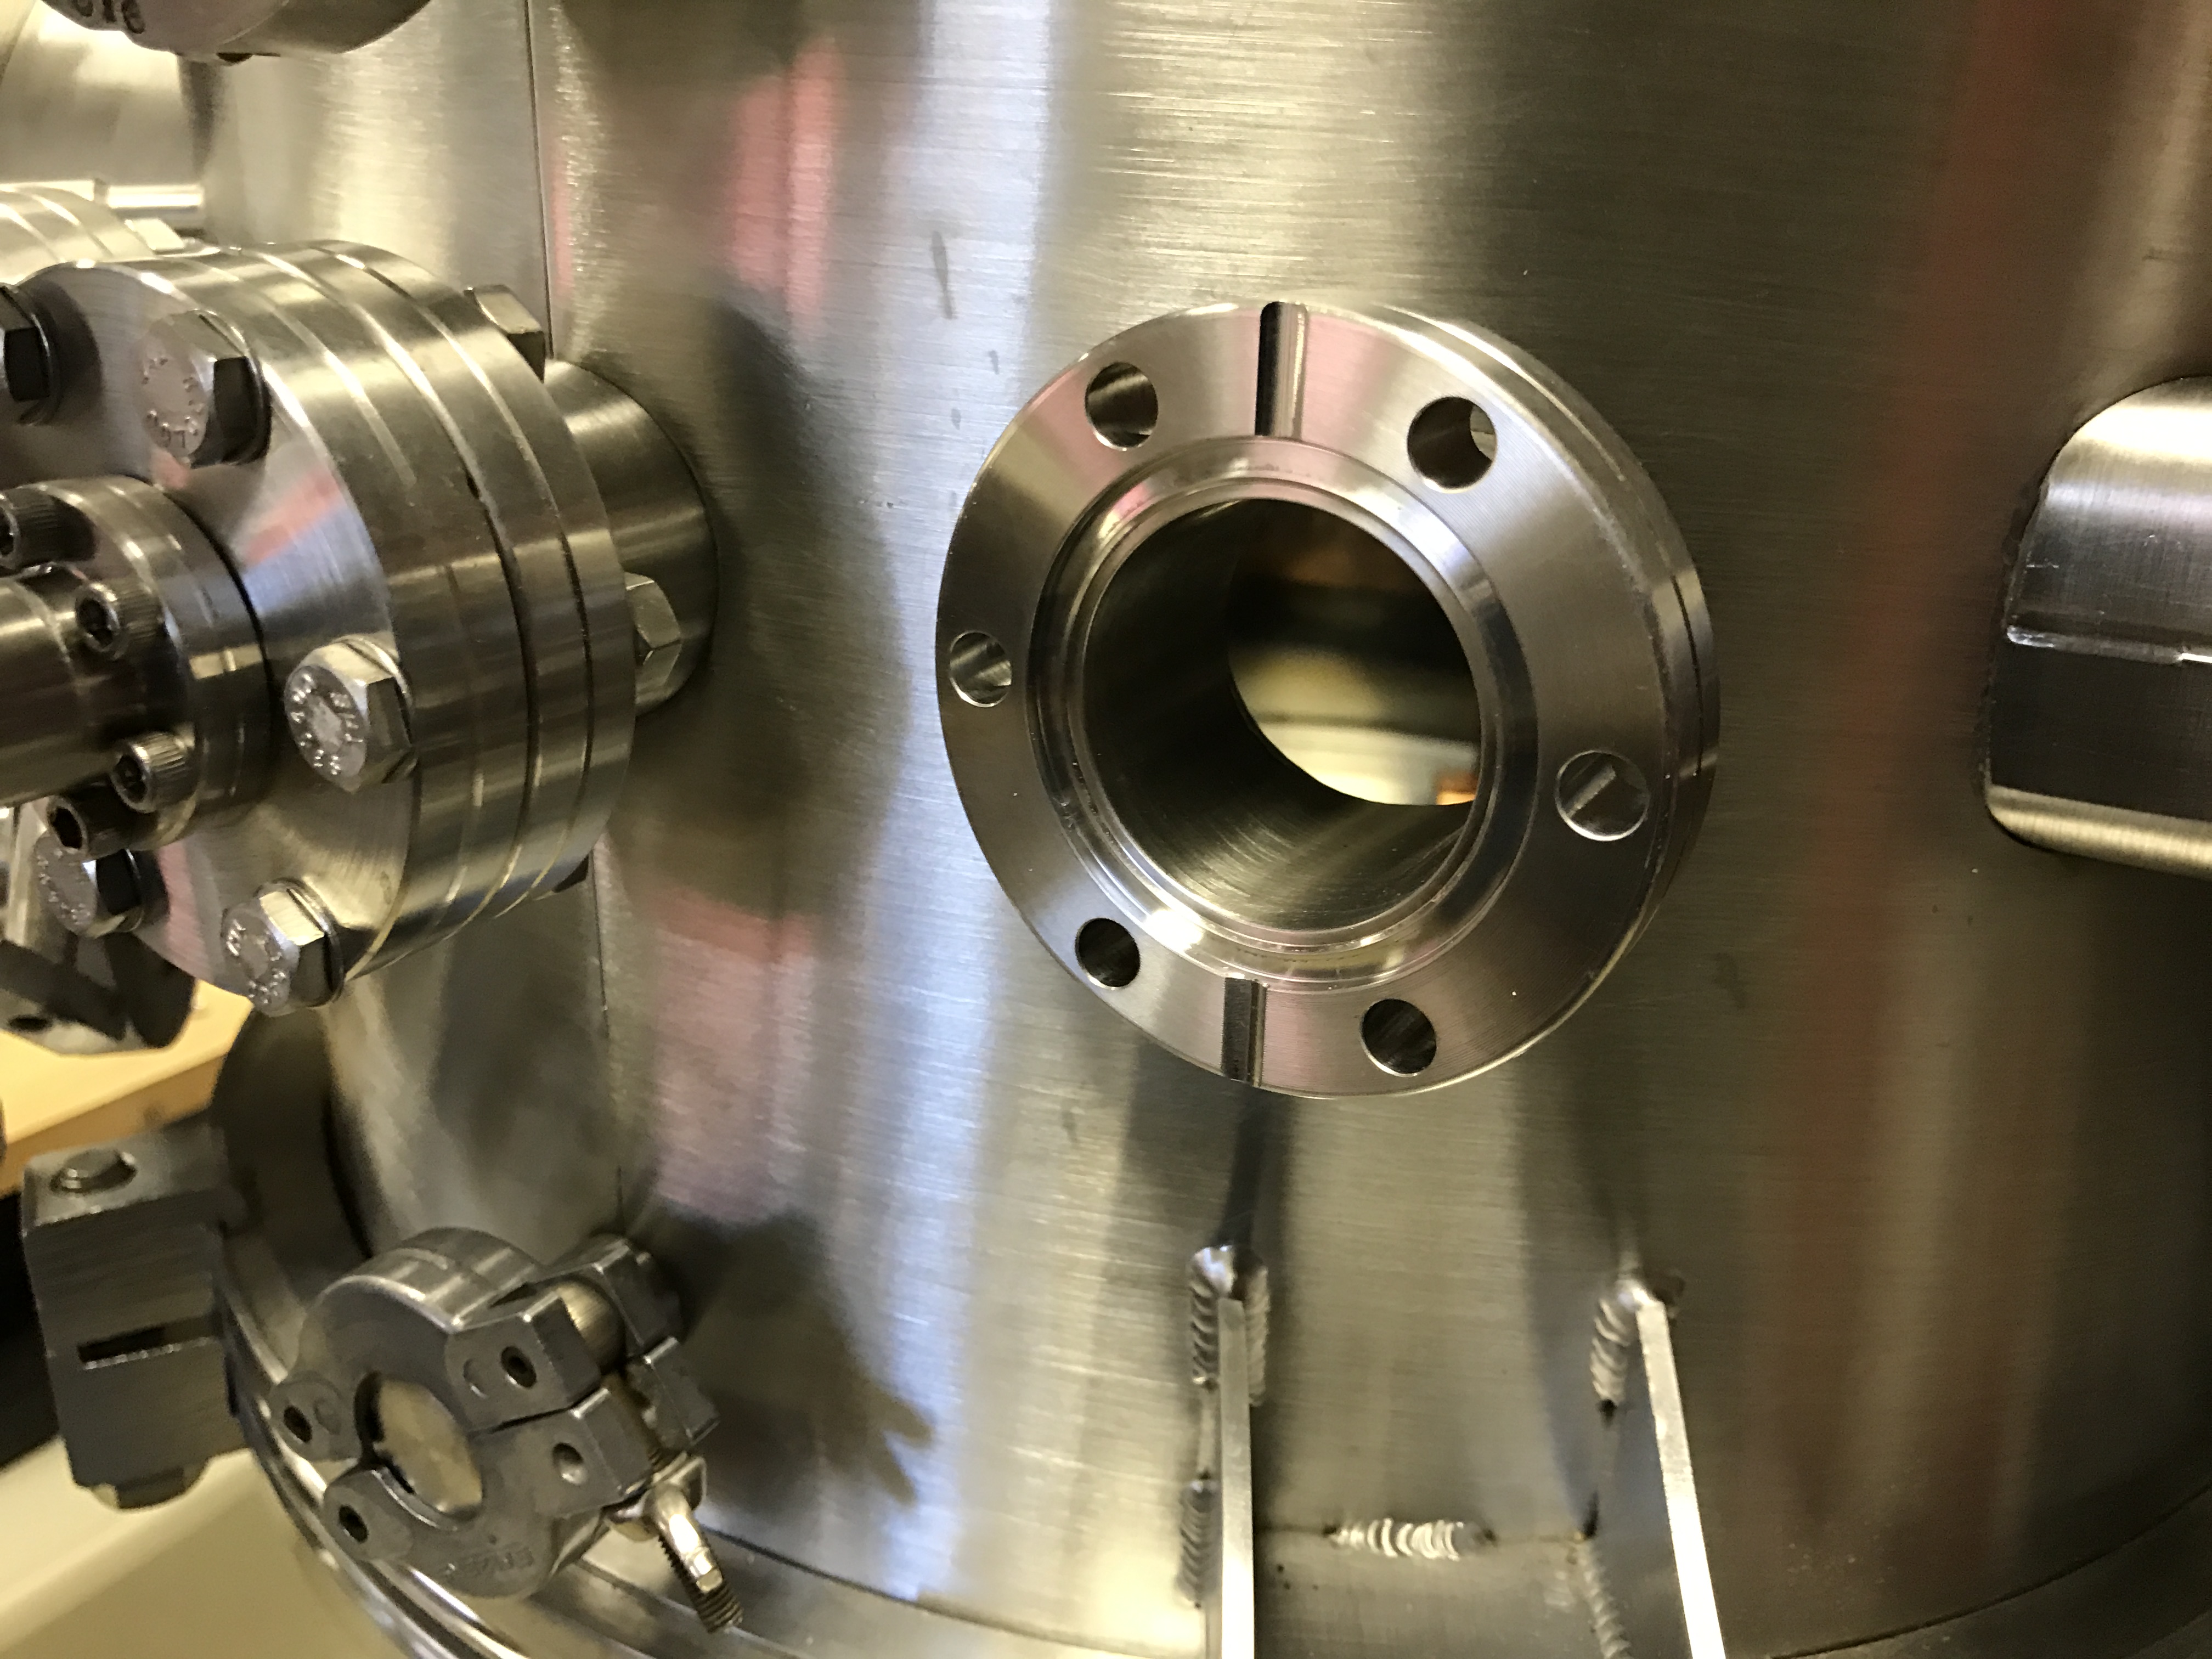
My vacuum chamber which I am setting up for thermal evaporation has a large rectangular flange which has grooves for ISO style clamps and 2 locator pins. This flange may have been used for something like a load lock but as far as I could tell it is not a standard size so a custom block off plate was designed and machined from SS with grooves on the back for clamps, 2 pressed locator pins, and a viton o-ring. Mating surface was hand lapped to ensure good vacuum seal. Made by the extremely talented J.D Guerard machining company.


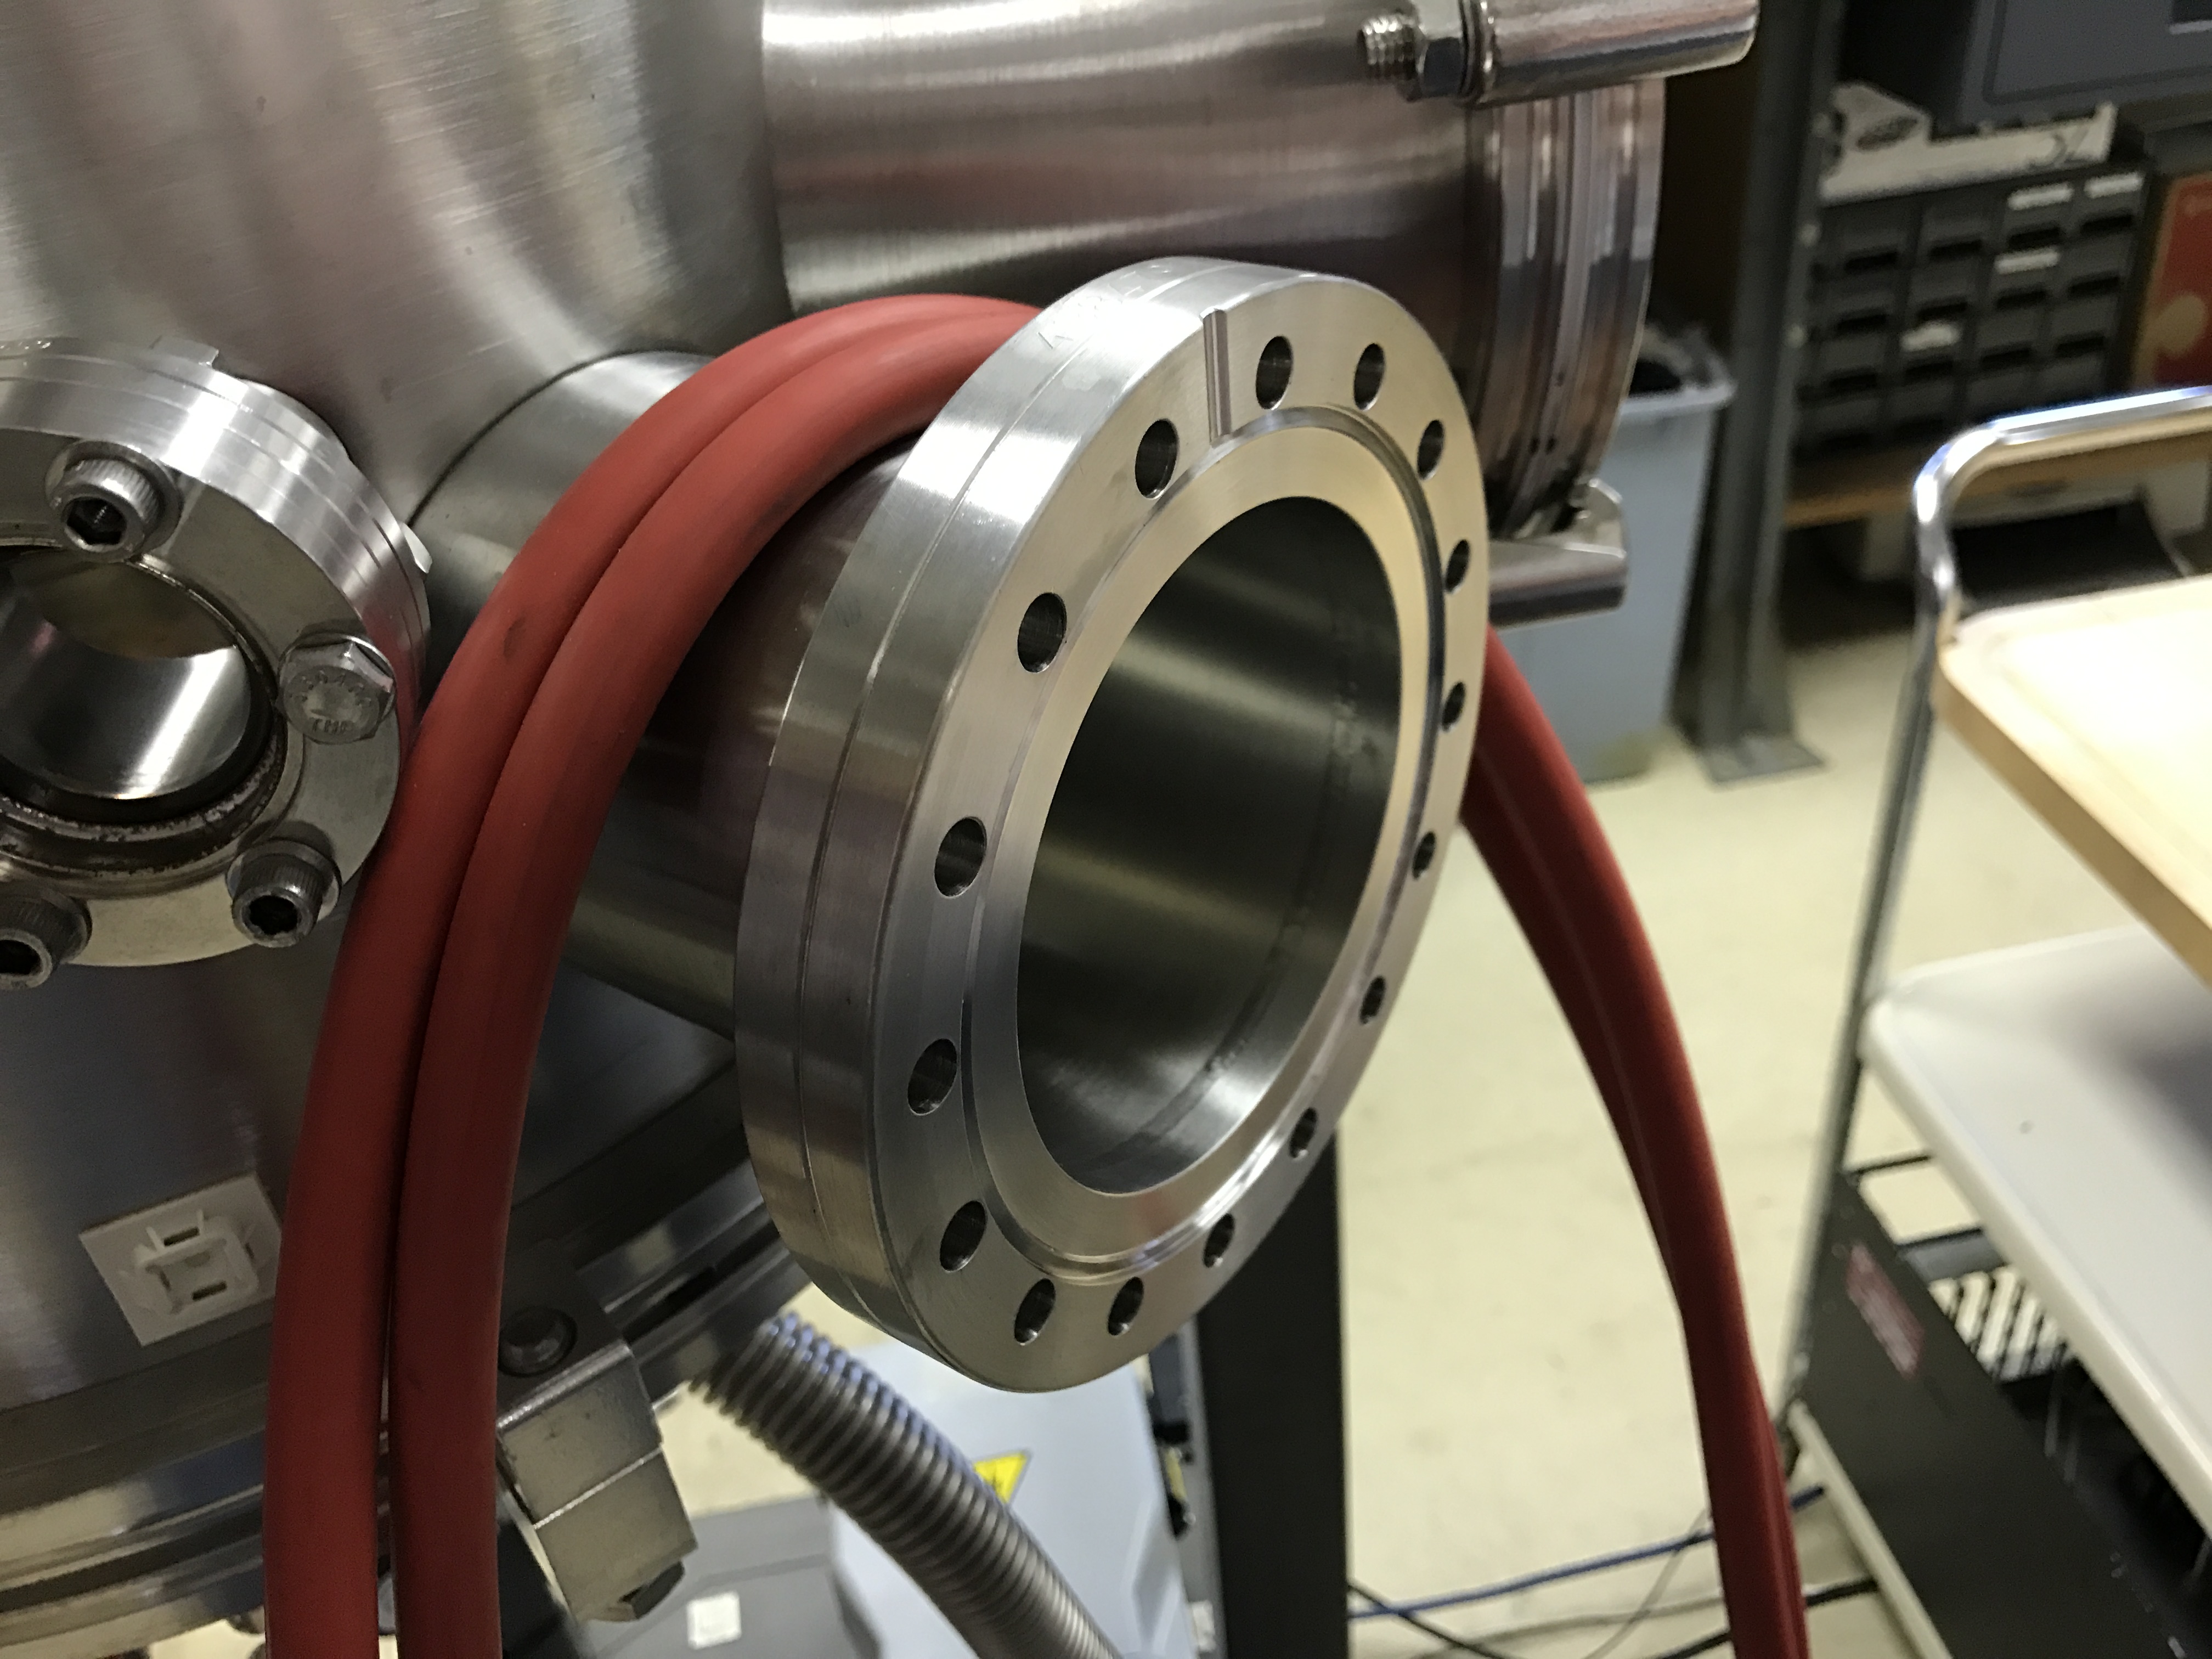


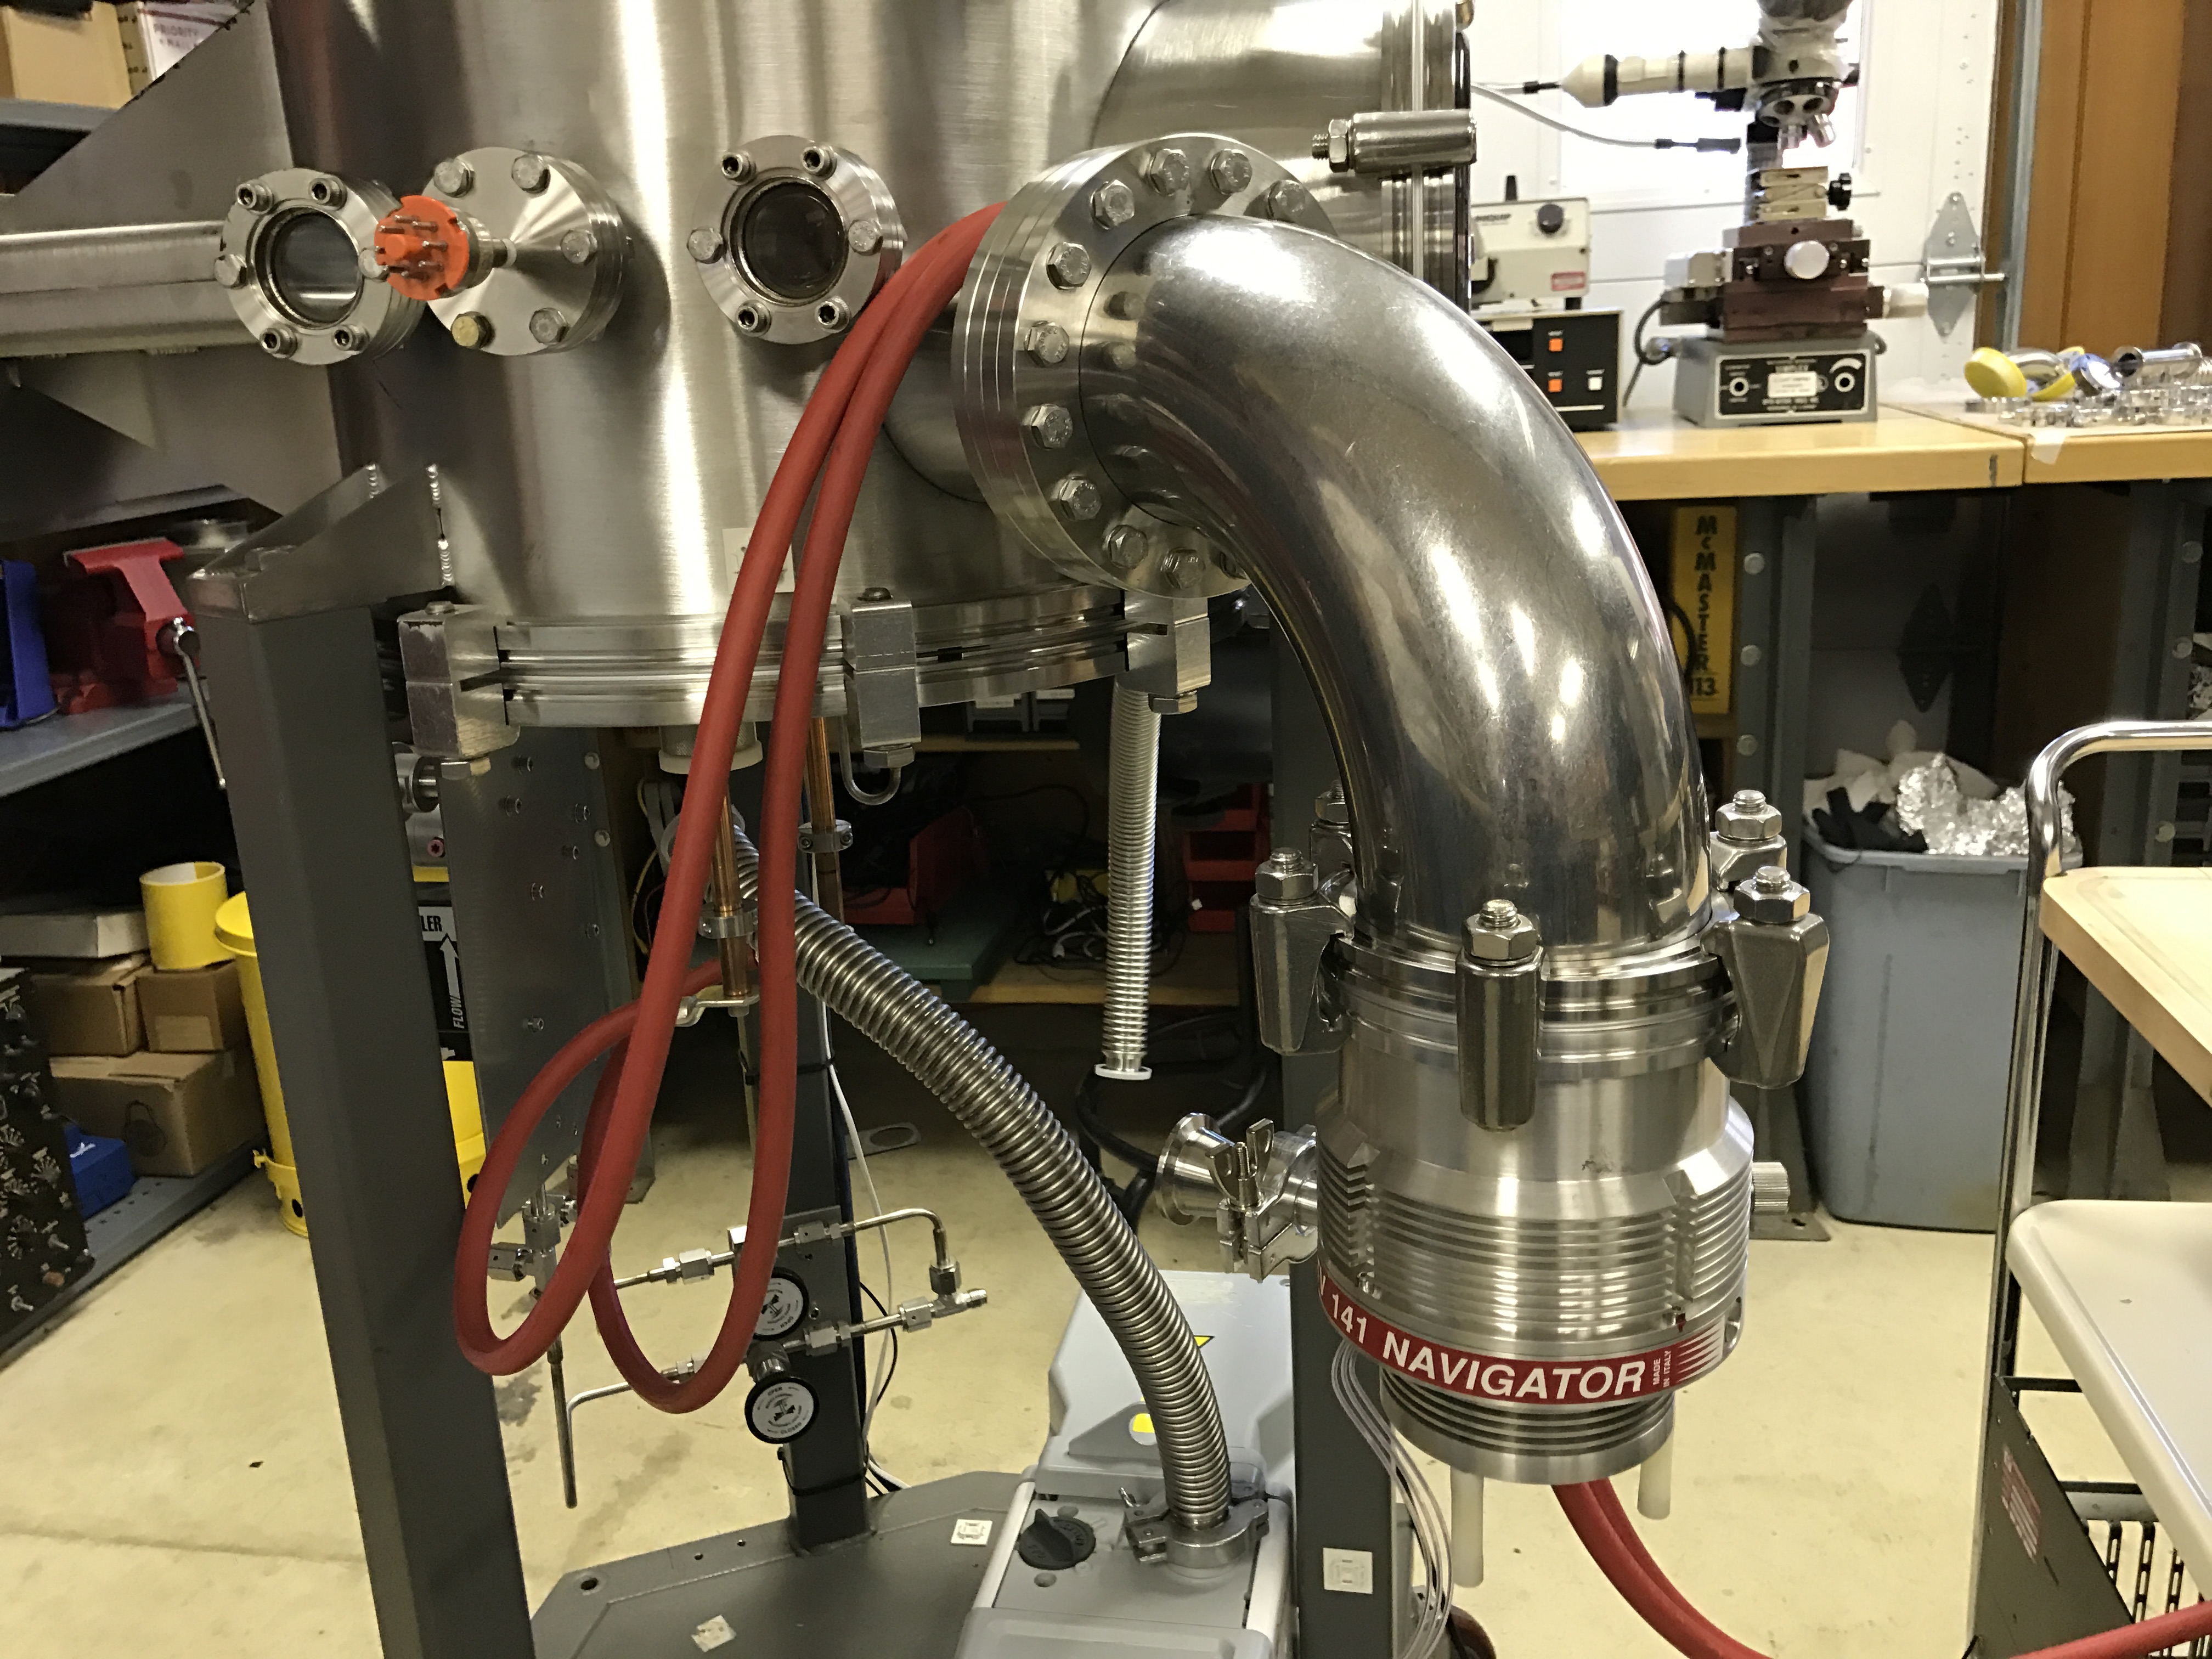
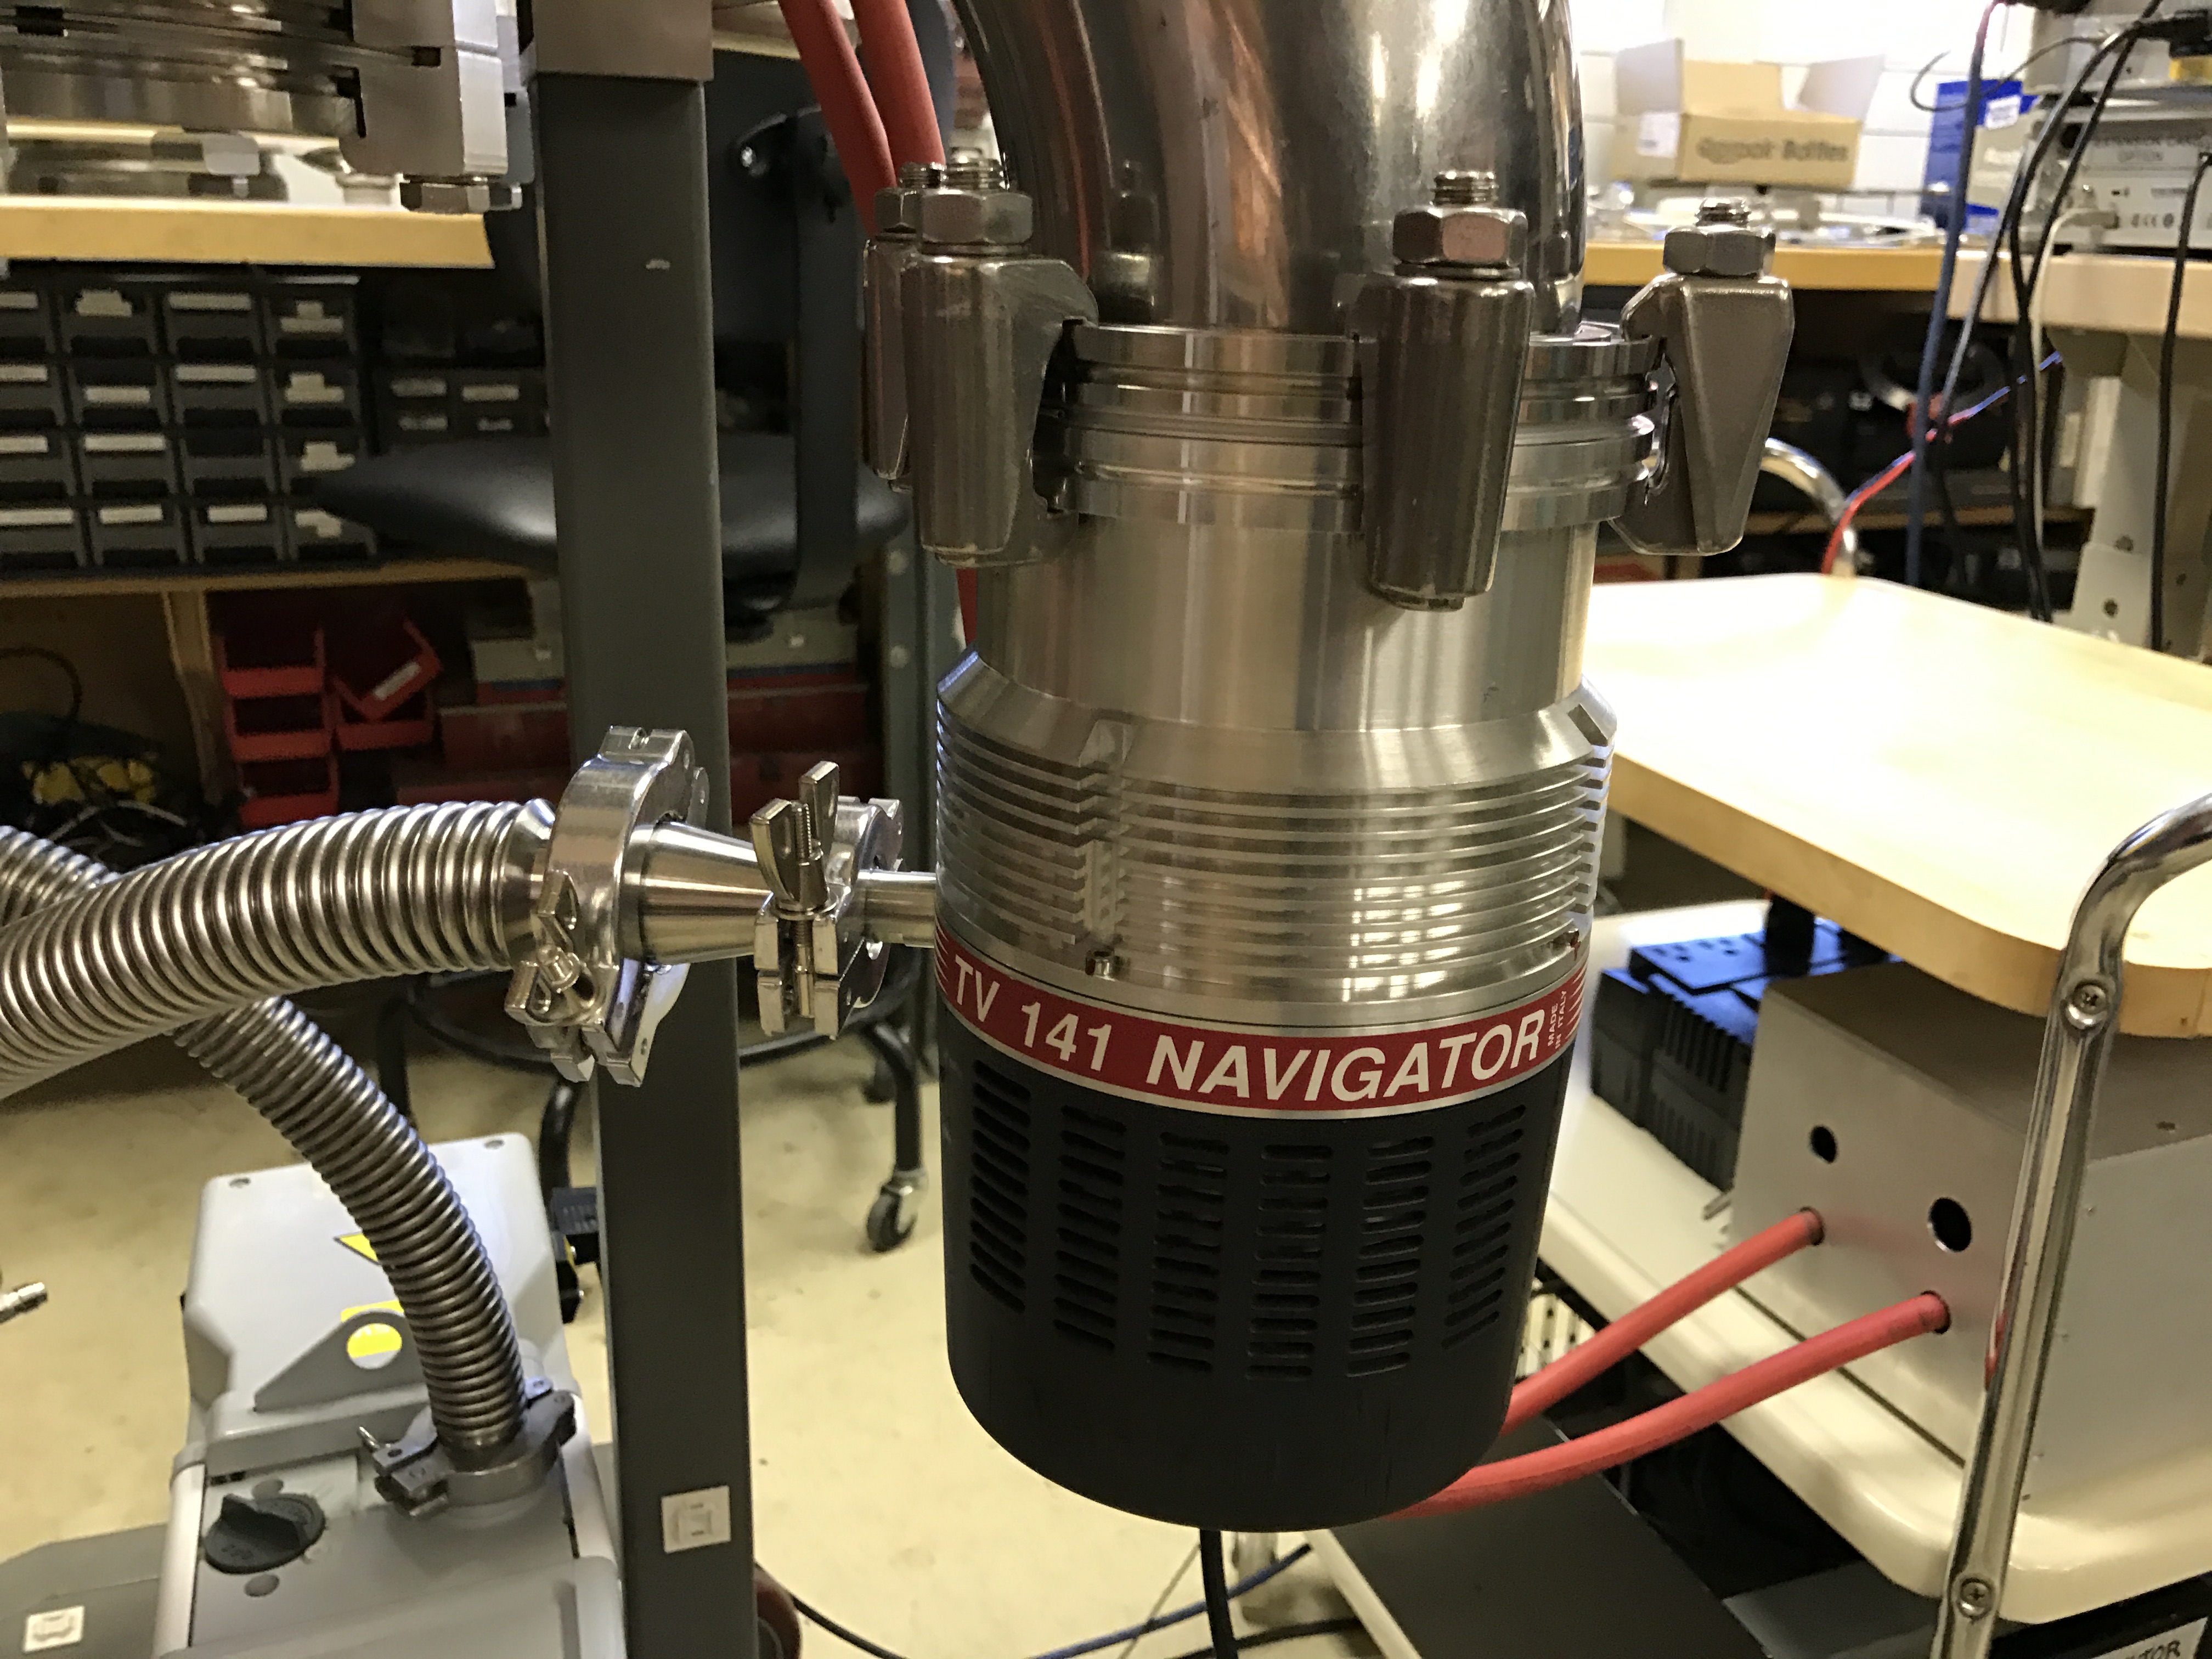

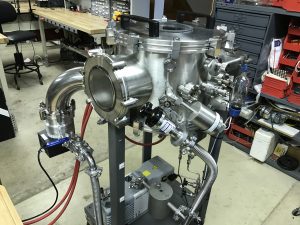
 Installation of Varian Navigator TV 141 Turbomolecular Pump on a 6″ CF to ISO 100 elbow – custom Lesker part. Pump controller is integrated and is powered by 240v single phase. Backing line is KF16 to KF25 conical adapter and the KF25 stainless hose runs to a heated vapor trap and then to an Edwards oil rotary vane pump. Turbo pump speed is ~120L/s!!


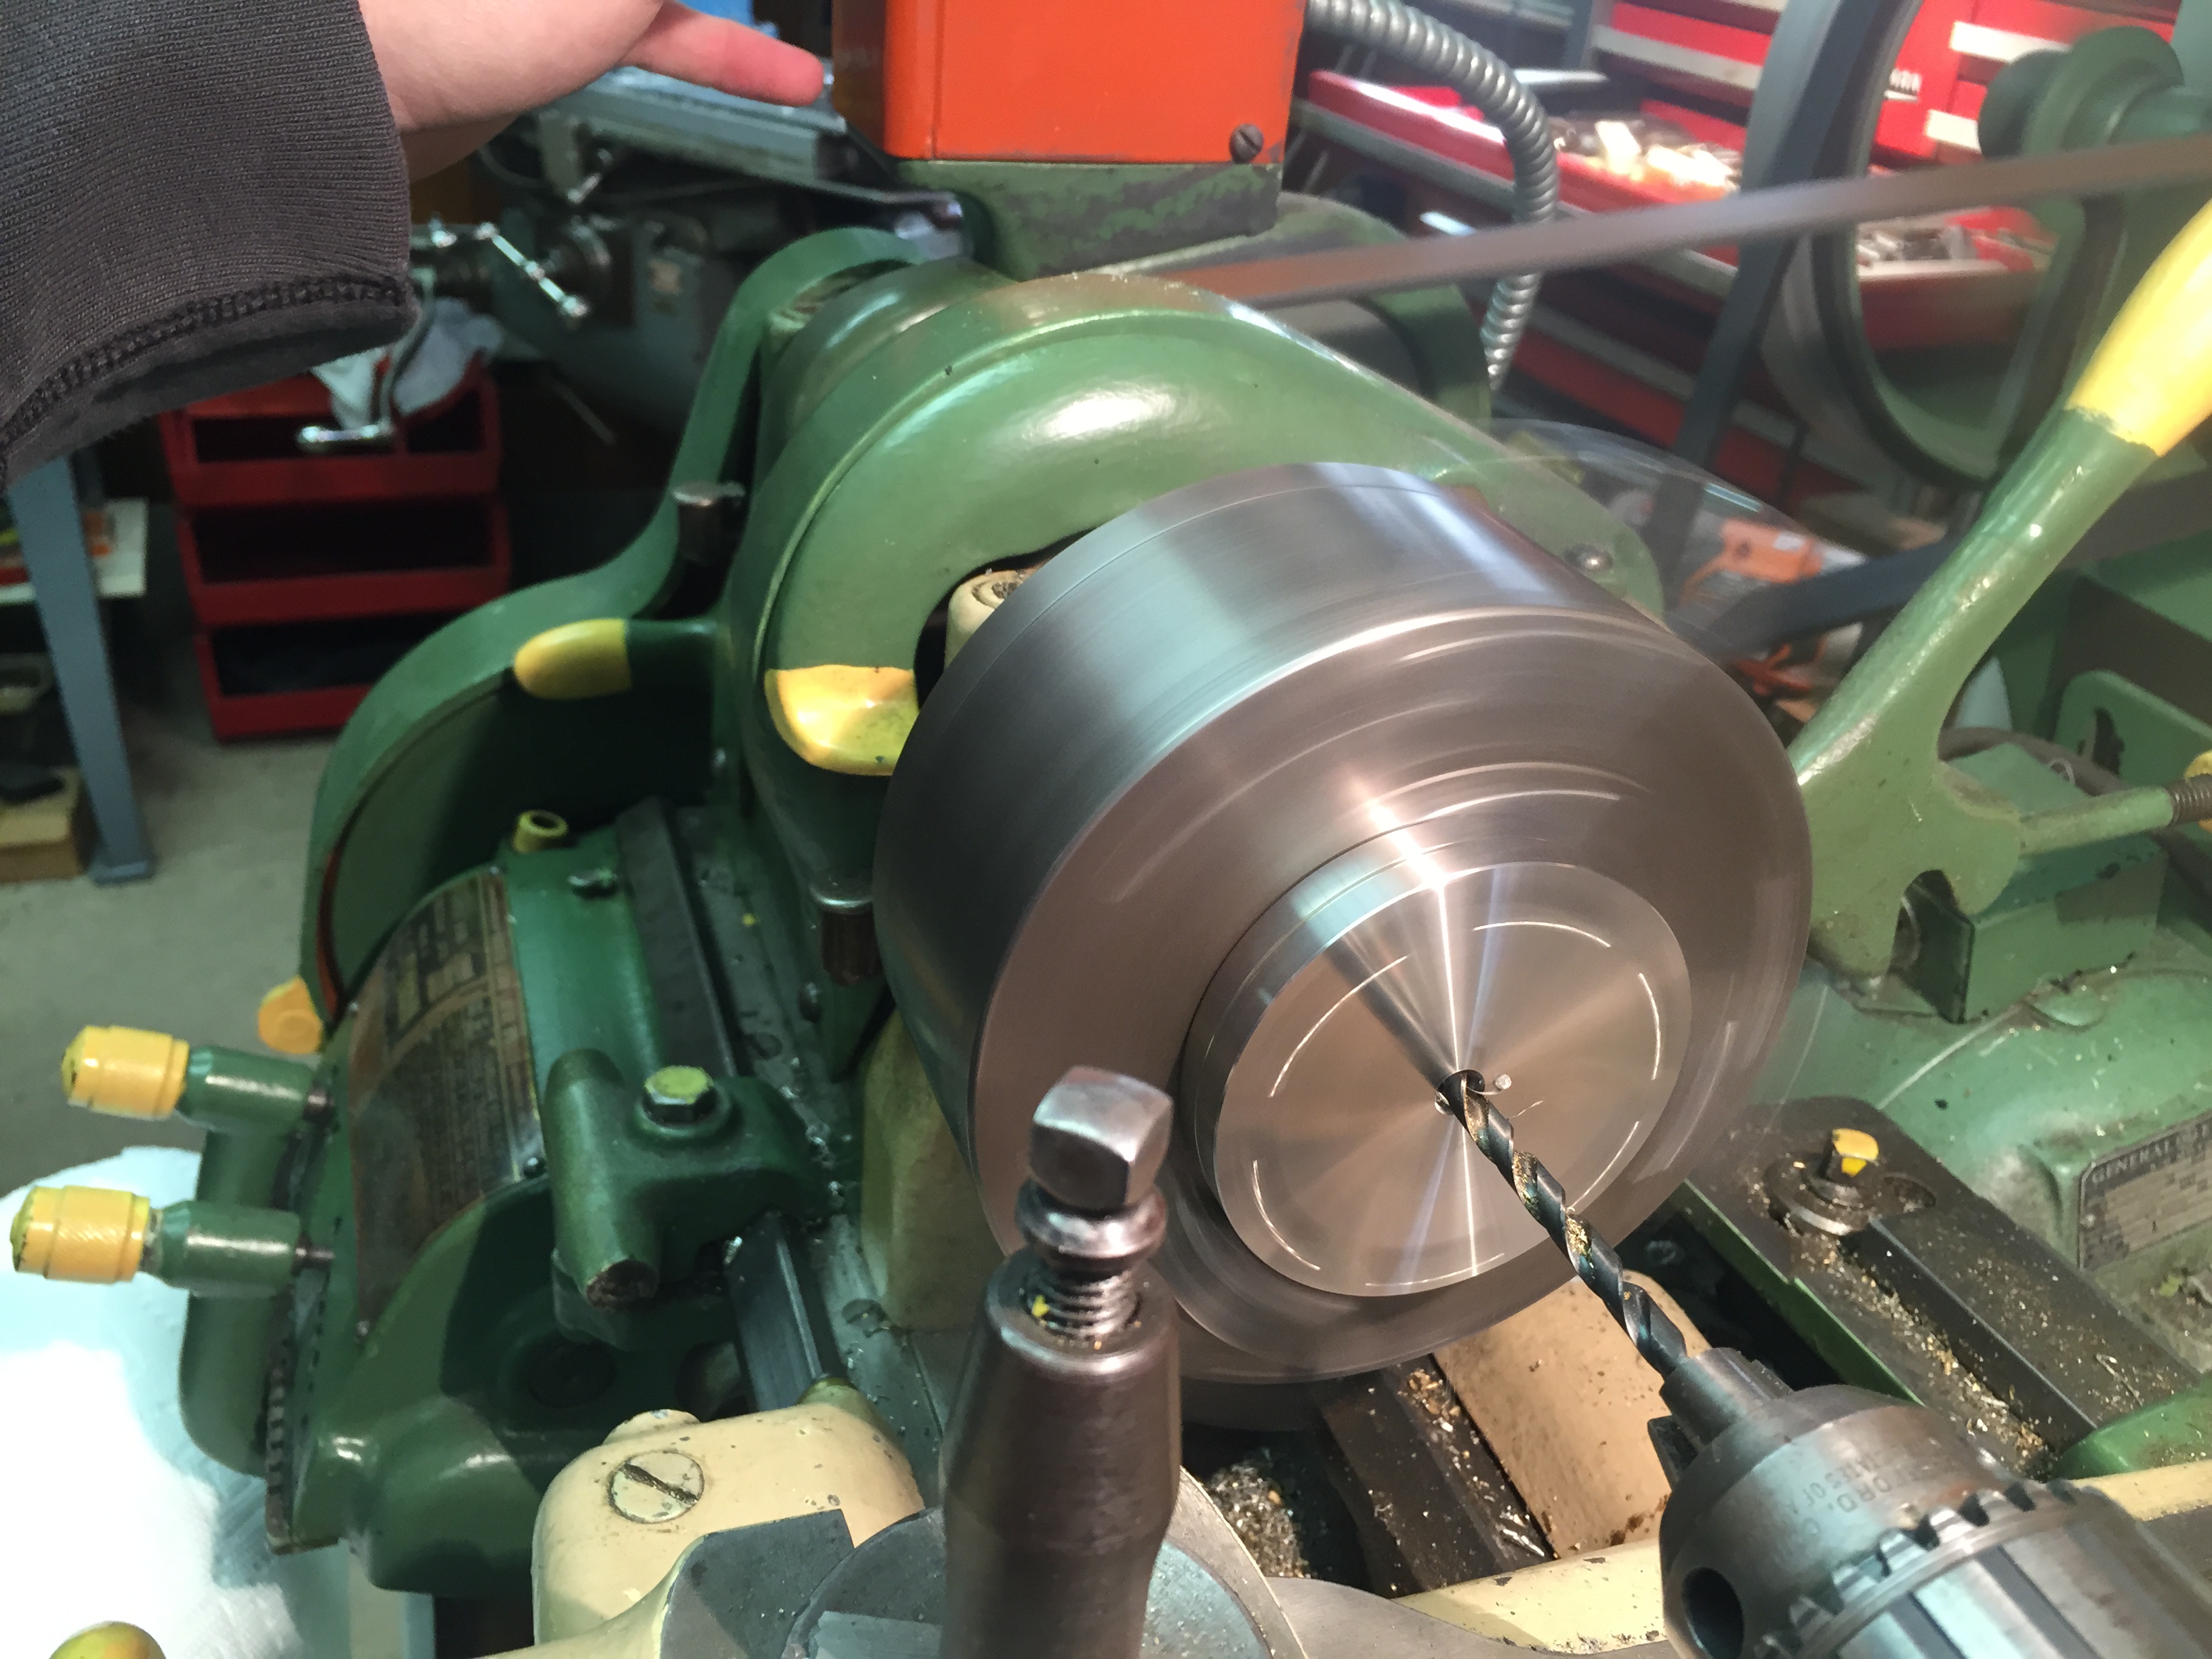


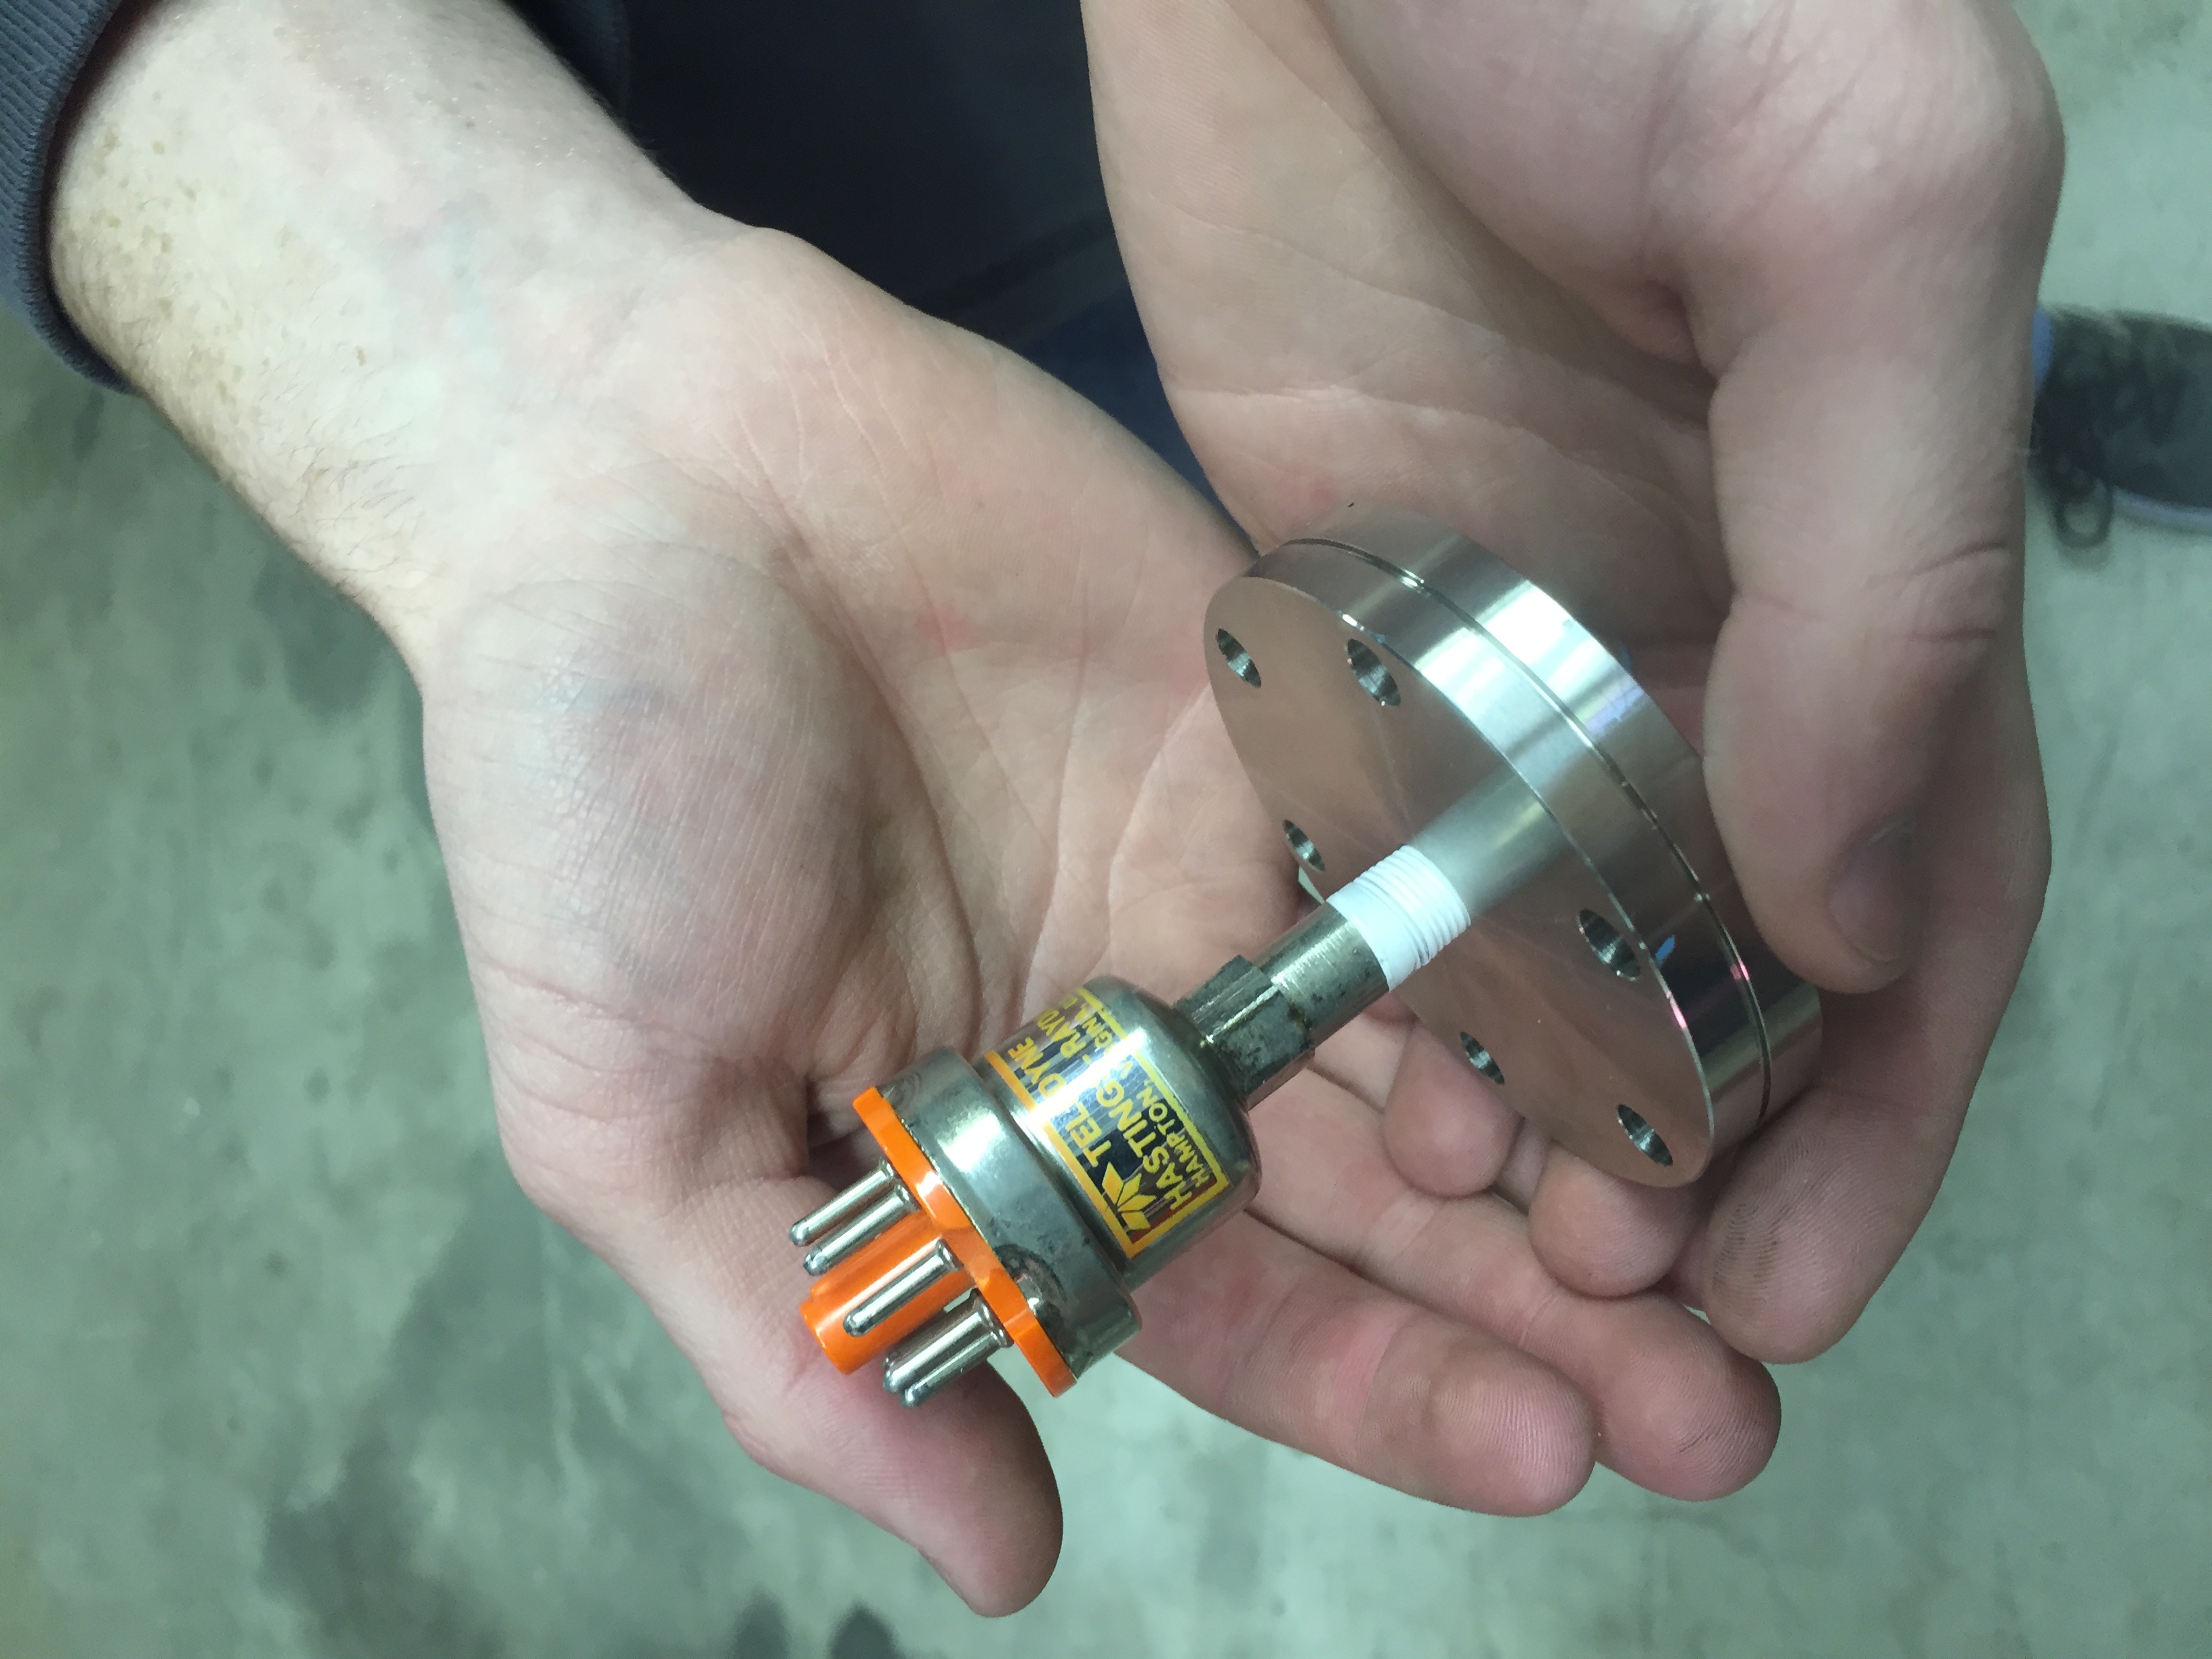

Drilling and tapping 1/8 NPT in a 2.75″ CF blank flange to mount a Hastings Instruments DV-23 thermocouple gauge. This, along with a Baratron pressure (capacitive) transducer, will be my main low to mid vacuum gauge.


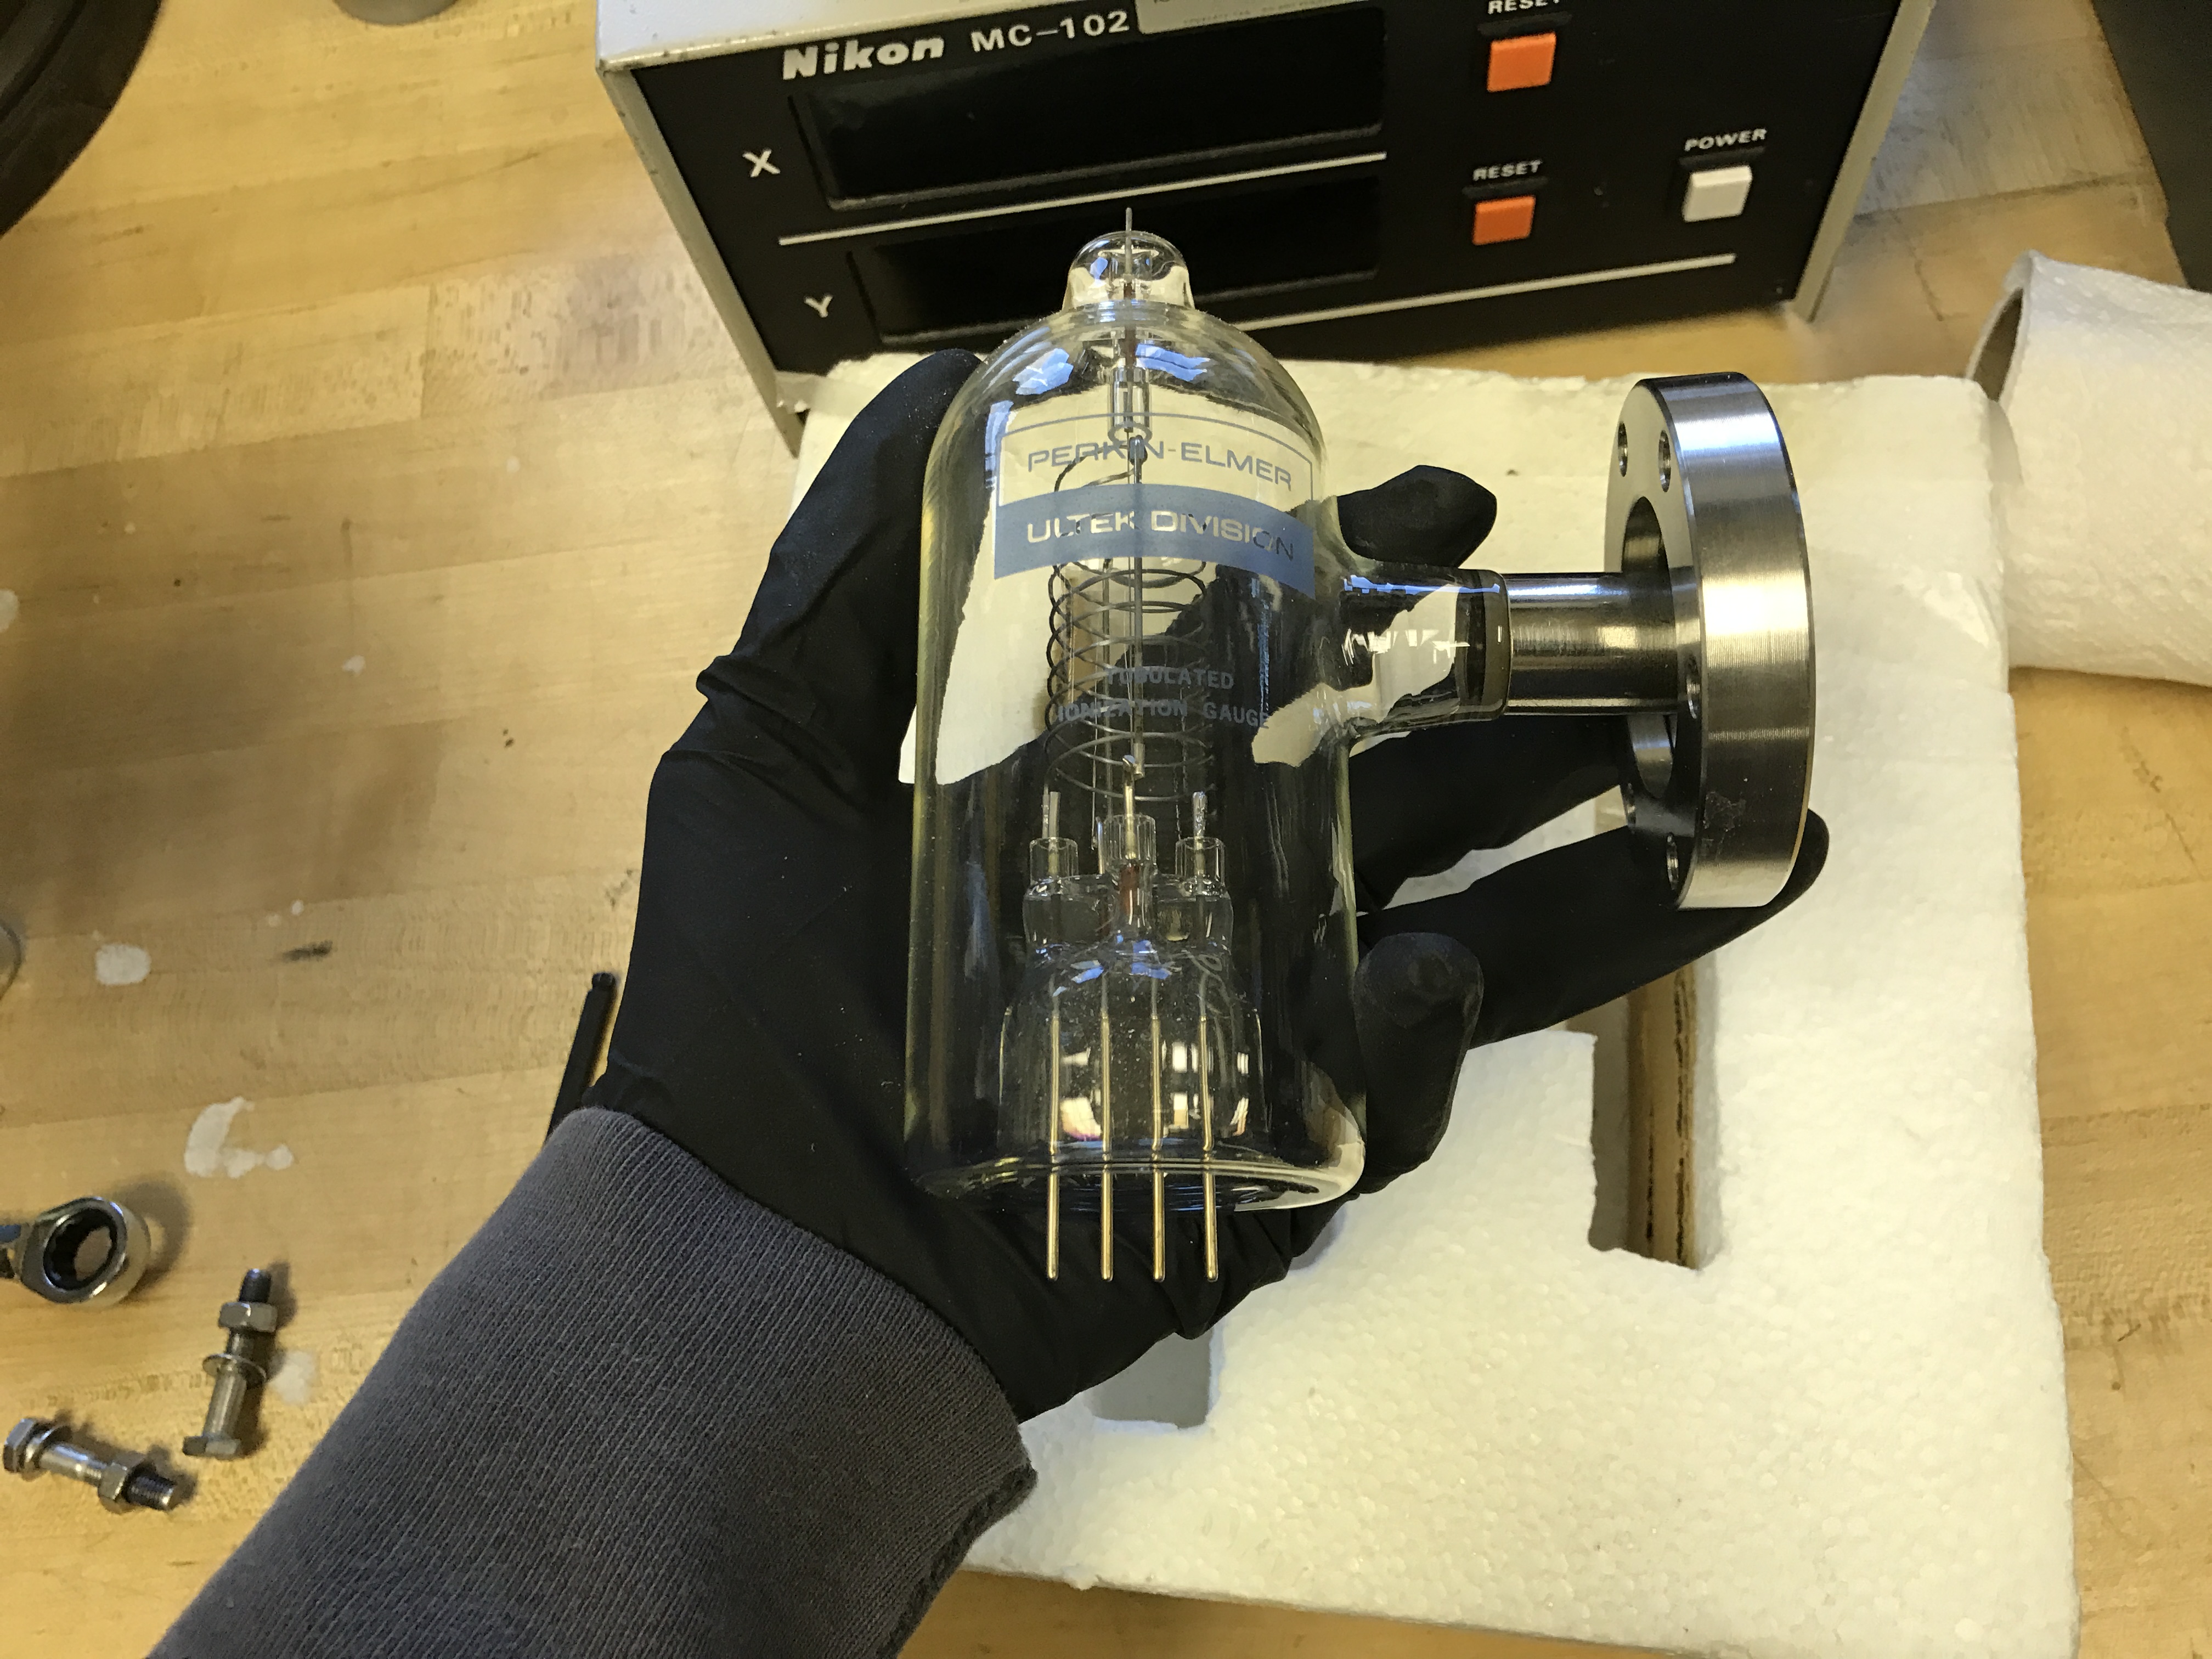


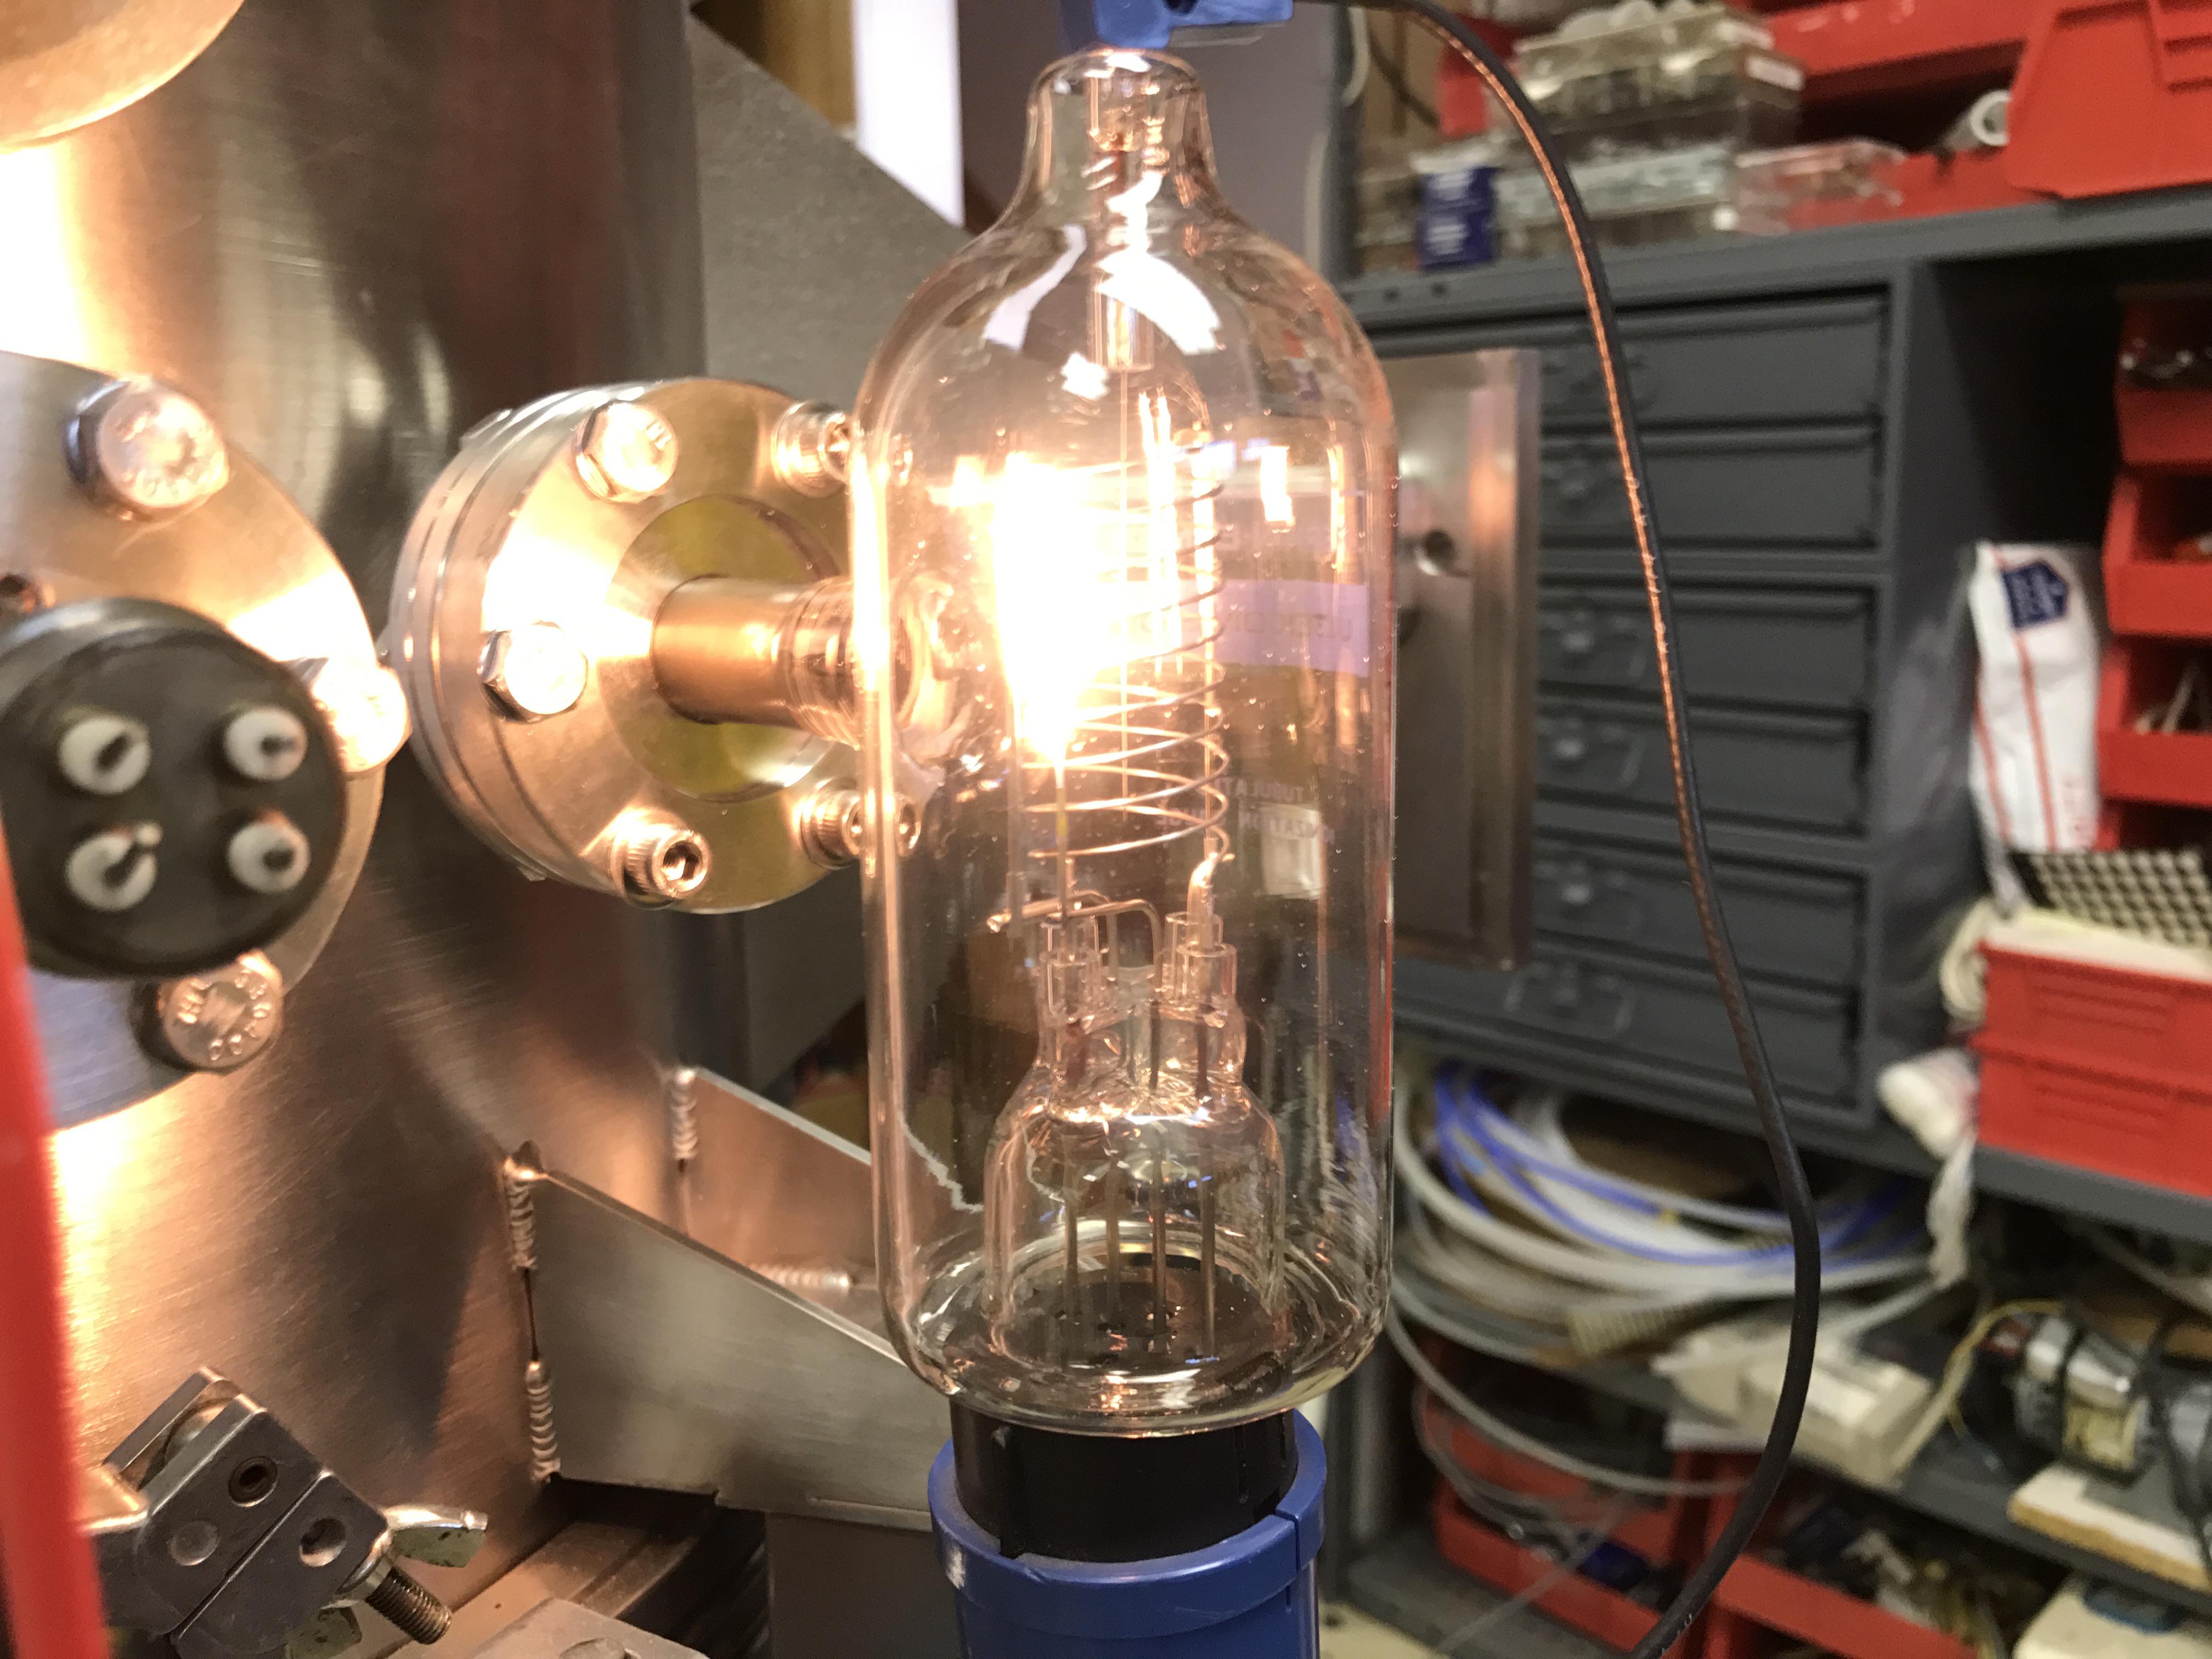

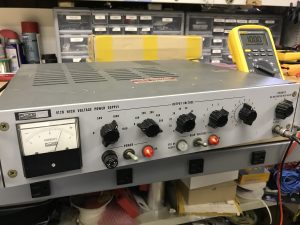
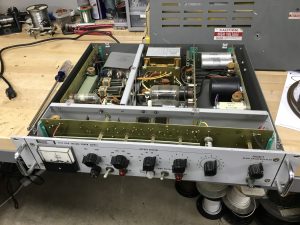
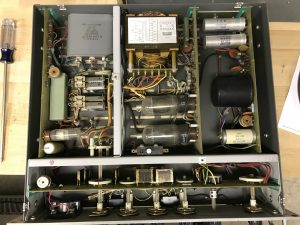
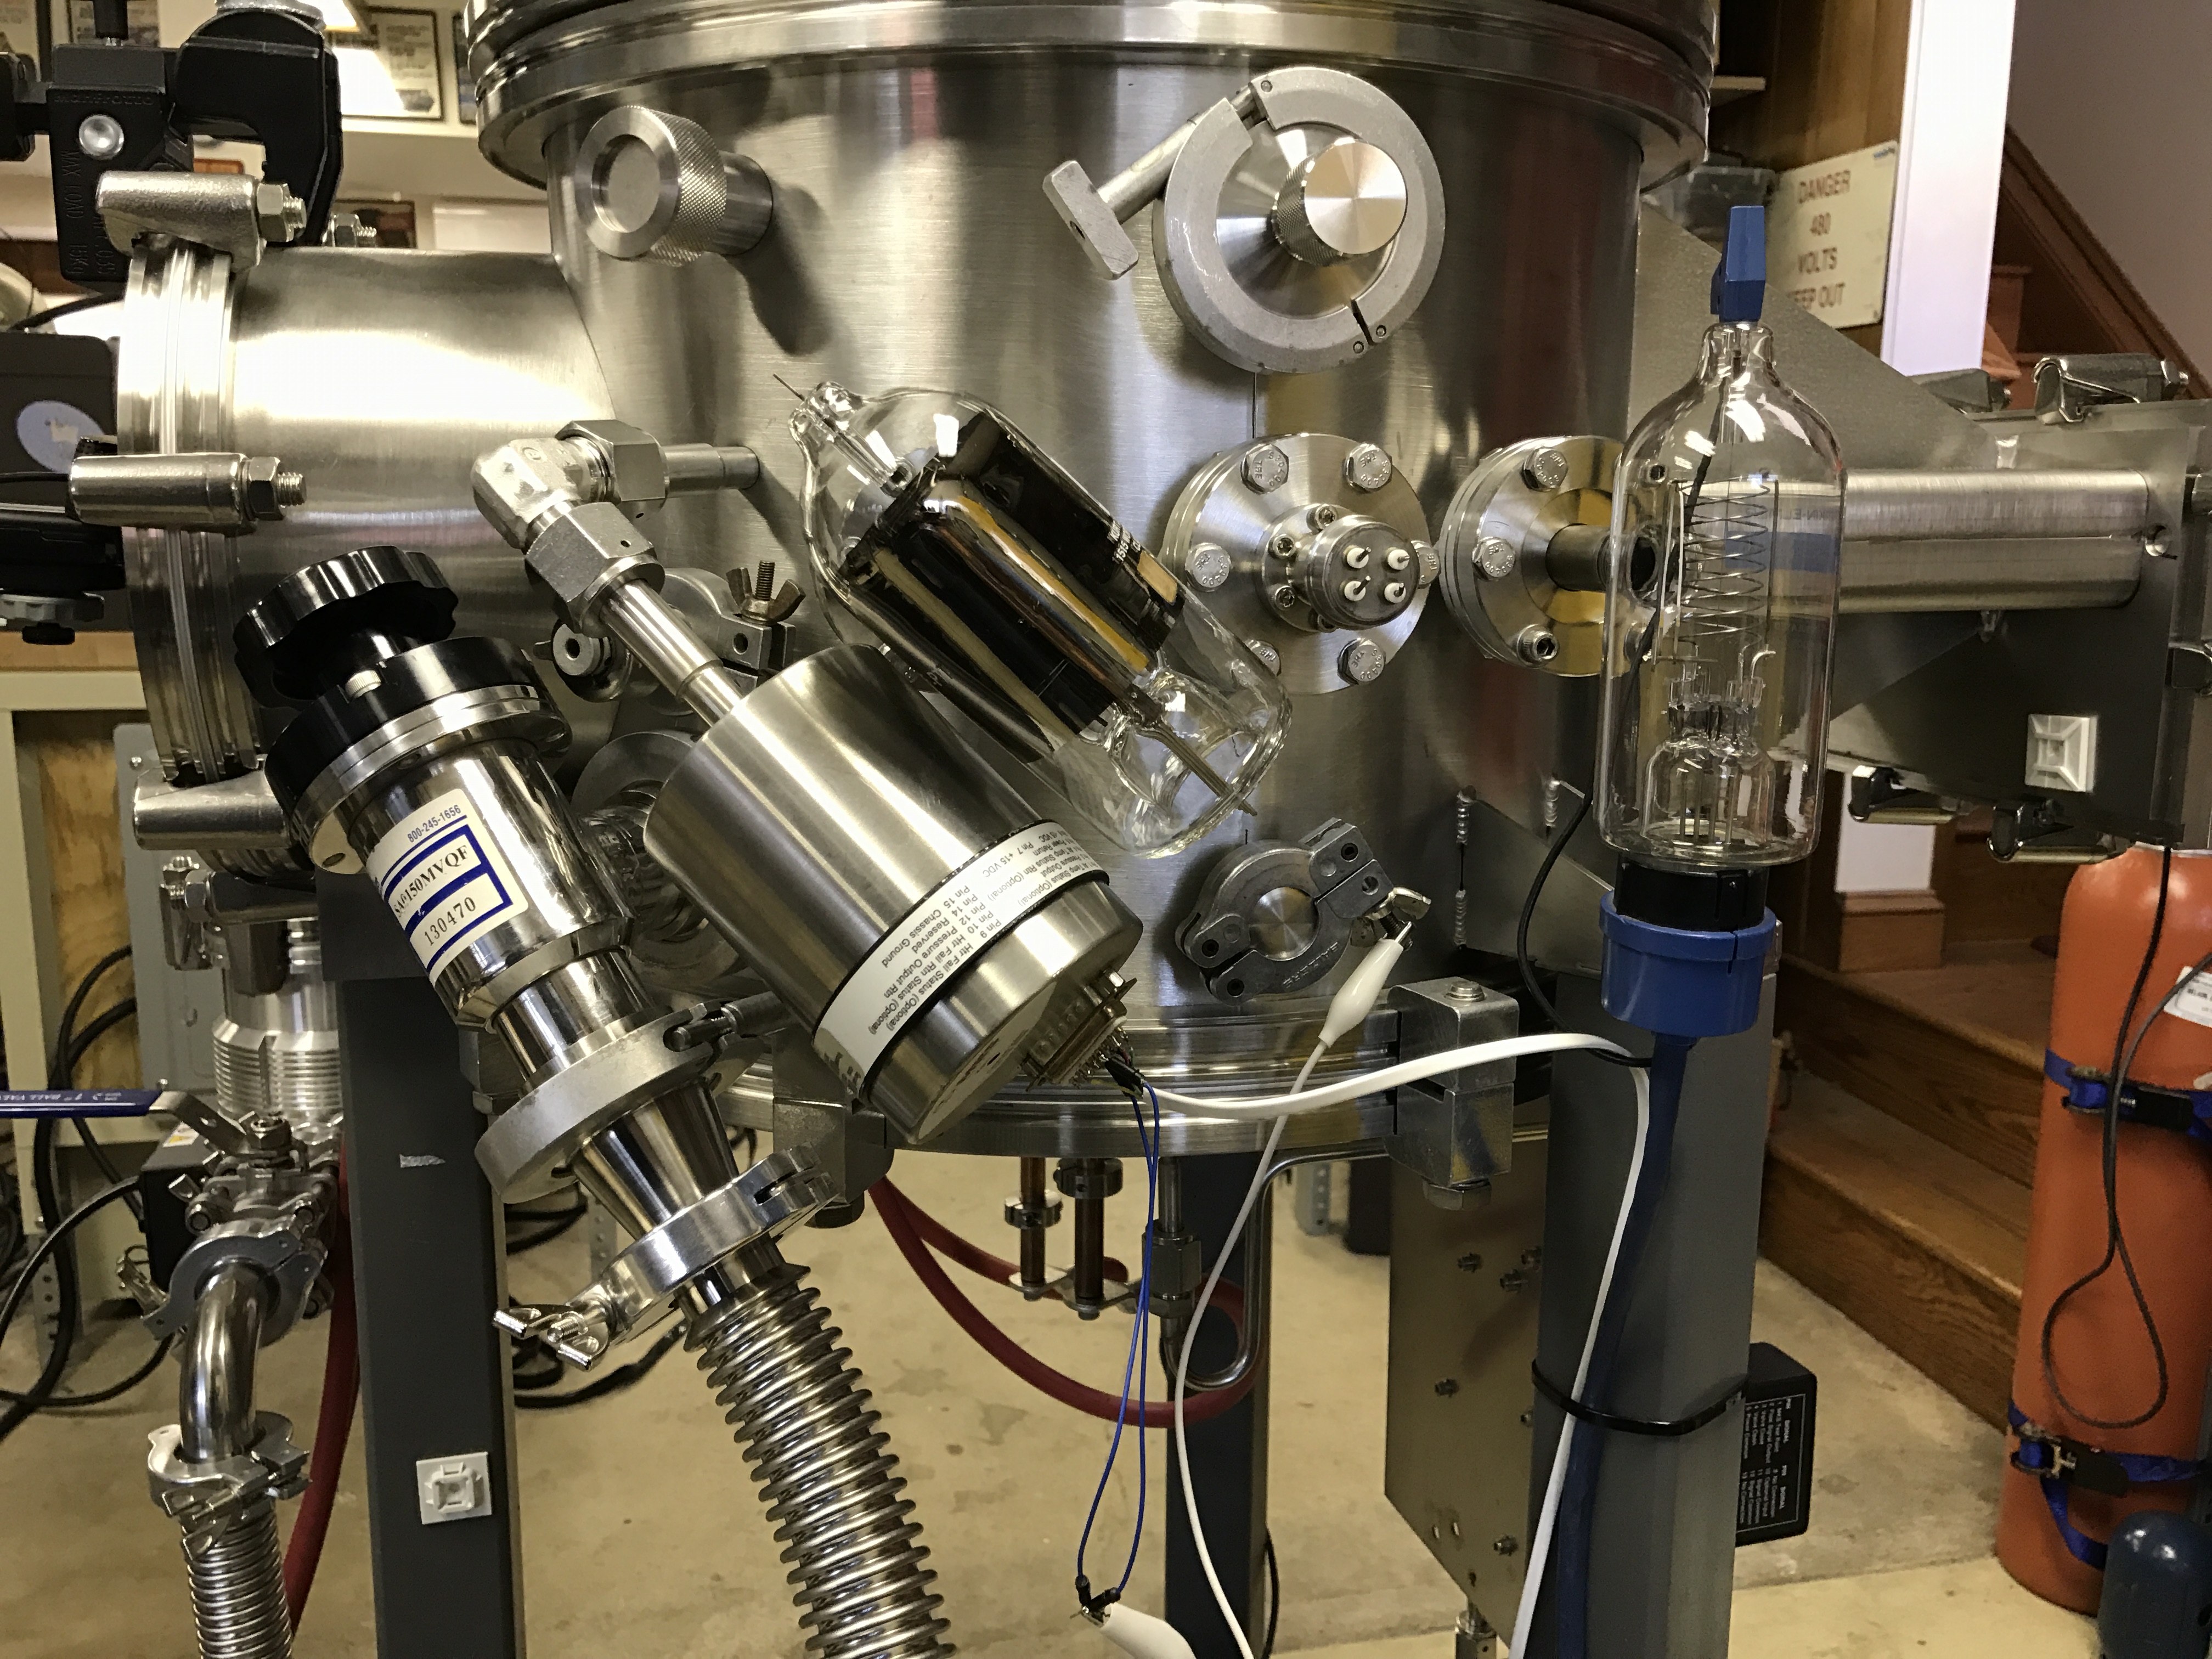
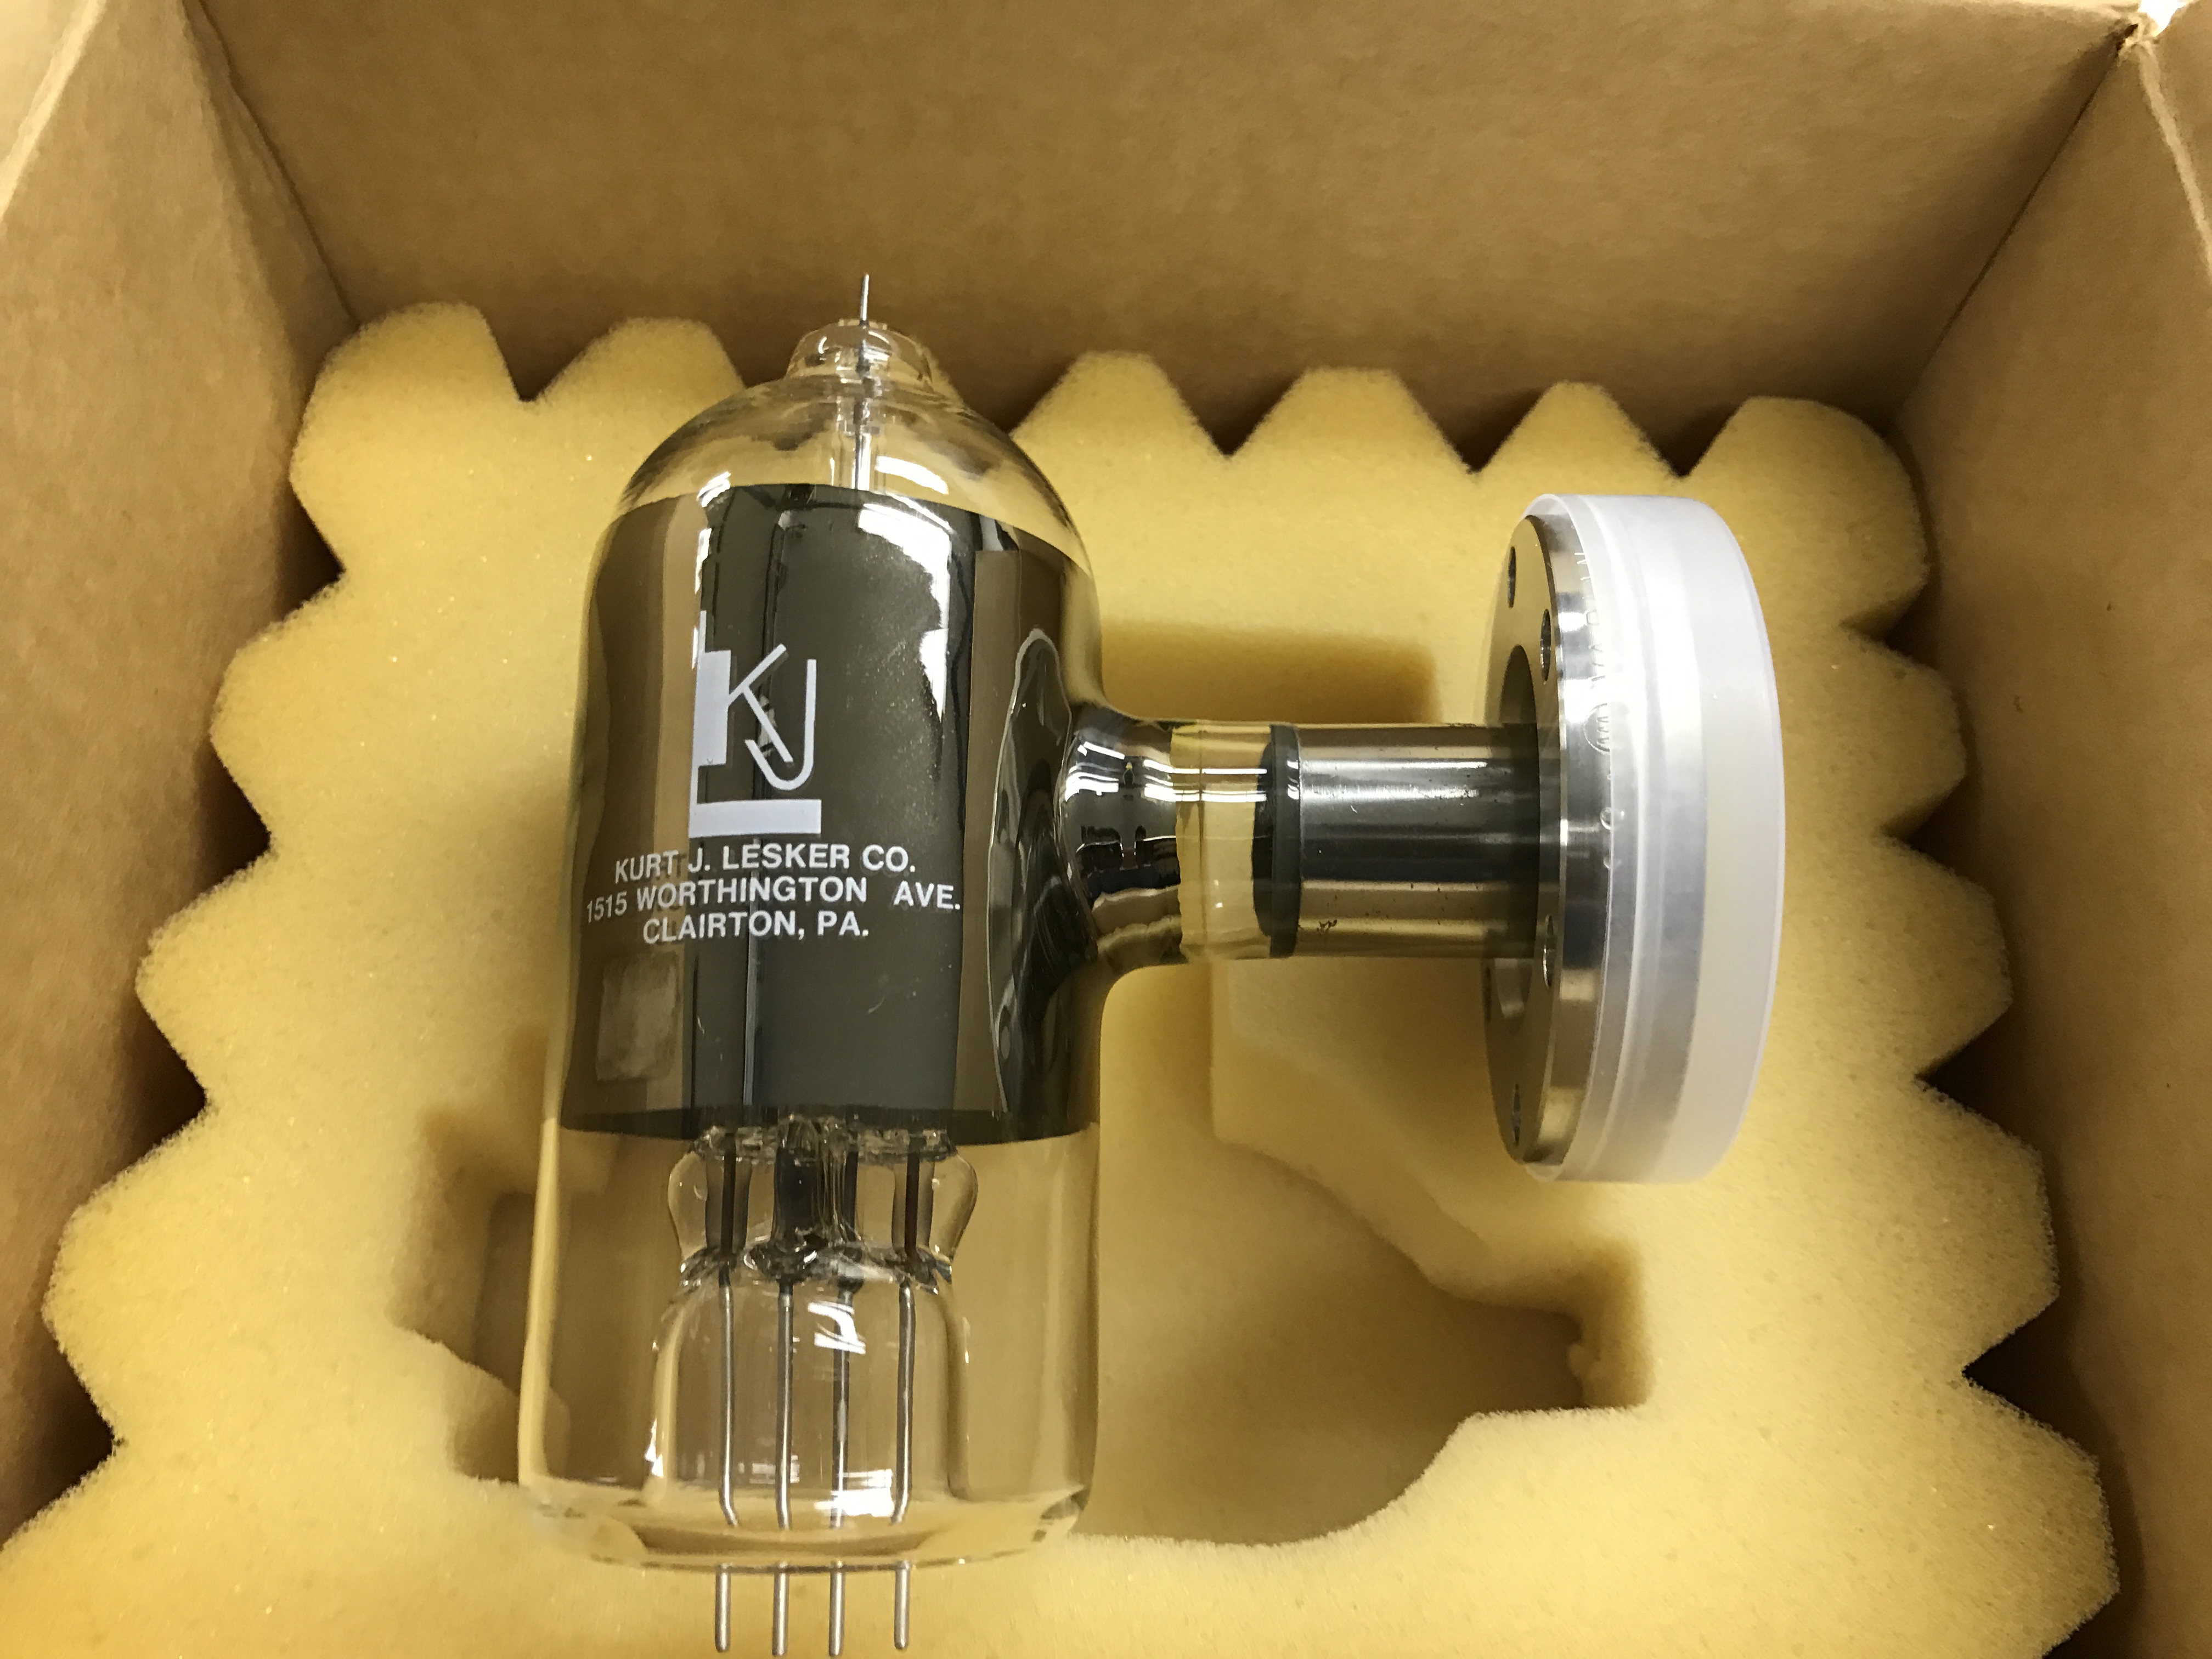
 Installation of a Perkin Elmer hot cathode ionization gauge on my PVD chamber. I applied current to the filament briefly at atmospheric pressure and the filament did not burn out so it may have a yttria-coated iridium filament rather than tungsten or any other refractory element. This will be my main mid to high vacuum gauge, used in conjunction with a thermcouple gauge and a Baratron pressure traducer for backing pressure measurement. The gauge mounted up to a 2 3/4″ conflat. I have a HP 59822B ionization gauge controller which provides filament current and reads collector current and displays it in torr.
Thanks to Charles Alexanian for this additional information:
“…your assumption about your gauge is correct in that it is an iridium filament. That being said the yittria coating can be poisoned by a great many things requiring a re calibration of your system depending on which type or controller you are using. The tungsten filament versions stayed popular in chamber research because you could simply boil off anything that might condense on the filament… I have changed over my Bayard Alpert type gauges. (That is the technical term for the gauge you are showing) for inverted magnetron types, particularly the MKS903 type units because they give a analog voltage output and require no external controller. Additionally they can be easily disassembled and cleaned. The also have a higher starting pressure where I no longer need thermocouple gauges.”
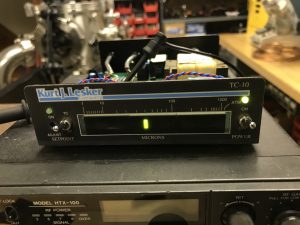
The quartz thickness monitor is a Maxtek TM-100 that I picked up on ebay for under $100. The board is very corroded so after a lot of contact cleaning I was able to get it working. Displays rate in angstroms per sec and integrates to find total thickness. Surprisingly simple circuity, it’s all based around a single counter chip and of course 7 segment display drivers and such.
A brief introduction to semiconductor fabrication processes and terminology. It is not intended to be an in depth view of any single process, but rather an overview so that provides enough information for someone to get started with making diodes and transistors at home.
Tour of my home chip fab setup in early 2017. I’ve been accumulating this equipment since October of 2016.
Step by step FET fabrication
High vacuum basics